The basic rule for chimney height is: a minimum of 3 feet high, as well as 2 feet higher than any roof within 10 feet horizontally. One theory is that it is for safety, to make sure anything hot coming out of the top of the chimney, doesnt catch the adjacent roof on fire. Another theory is for performance, that this minimum height ensures that the chimney is tall enough to provide draft and prevent other parts of the building from hindering draft.
Roof trusses are pre-made roof systems that are delivered to the home site and installed as a unit. They are designed by structural engineers and essentially form the attic structure: rafters, floor joists, and any supporting bracing. They should never be altered in any way. This one should be evaluated by a structural engineer.

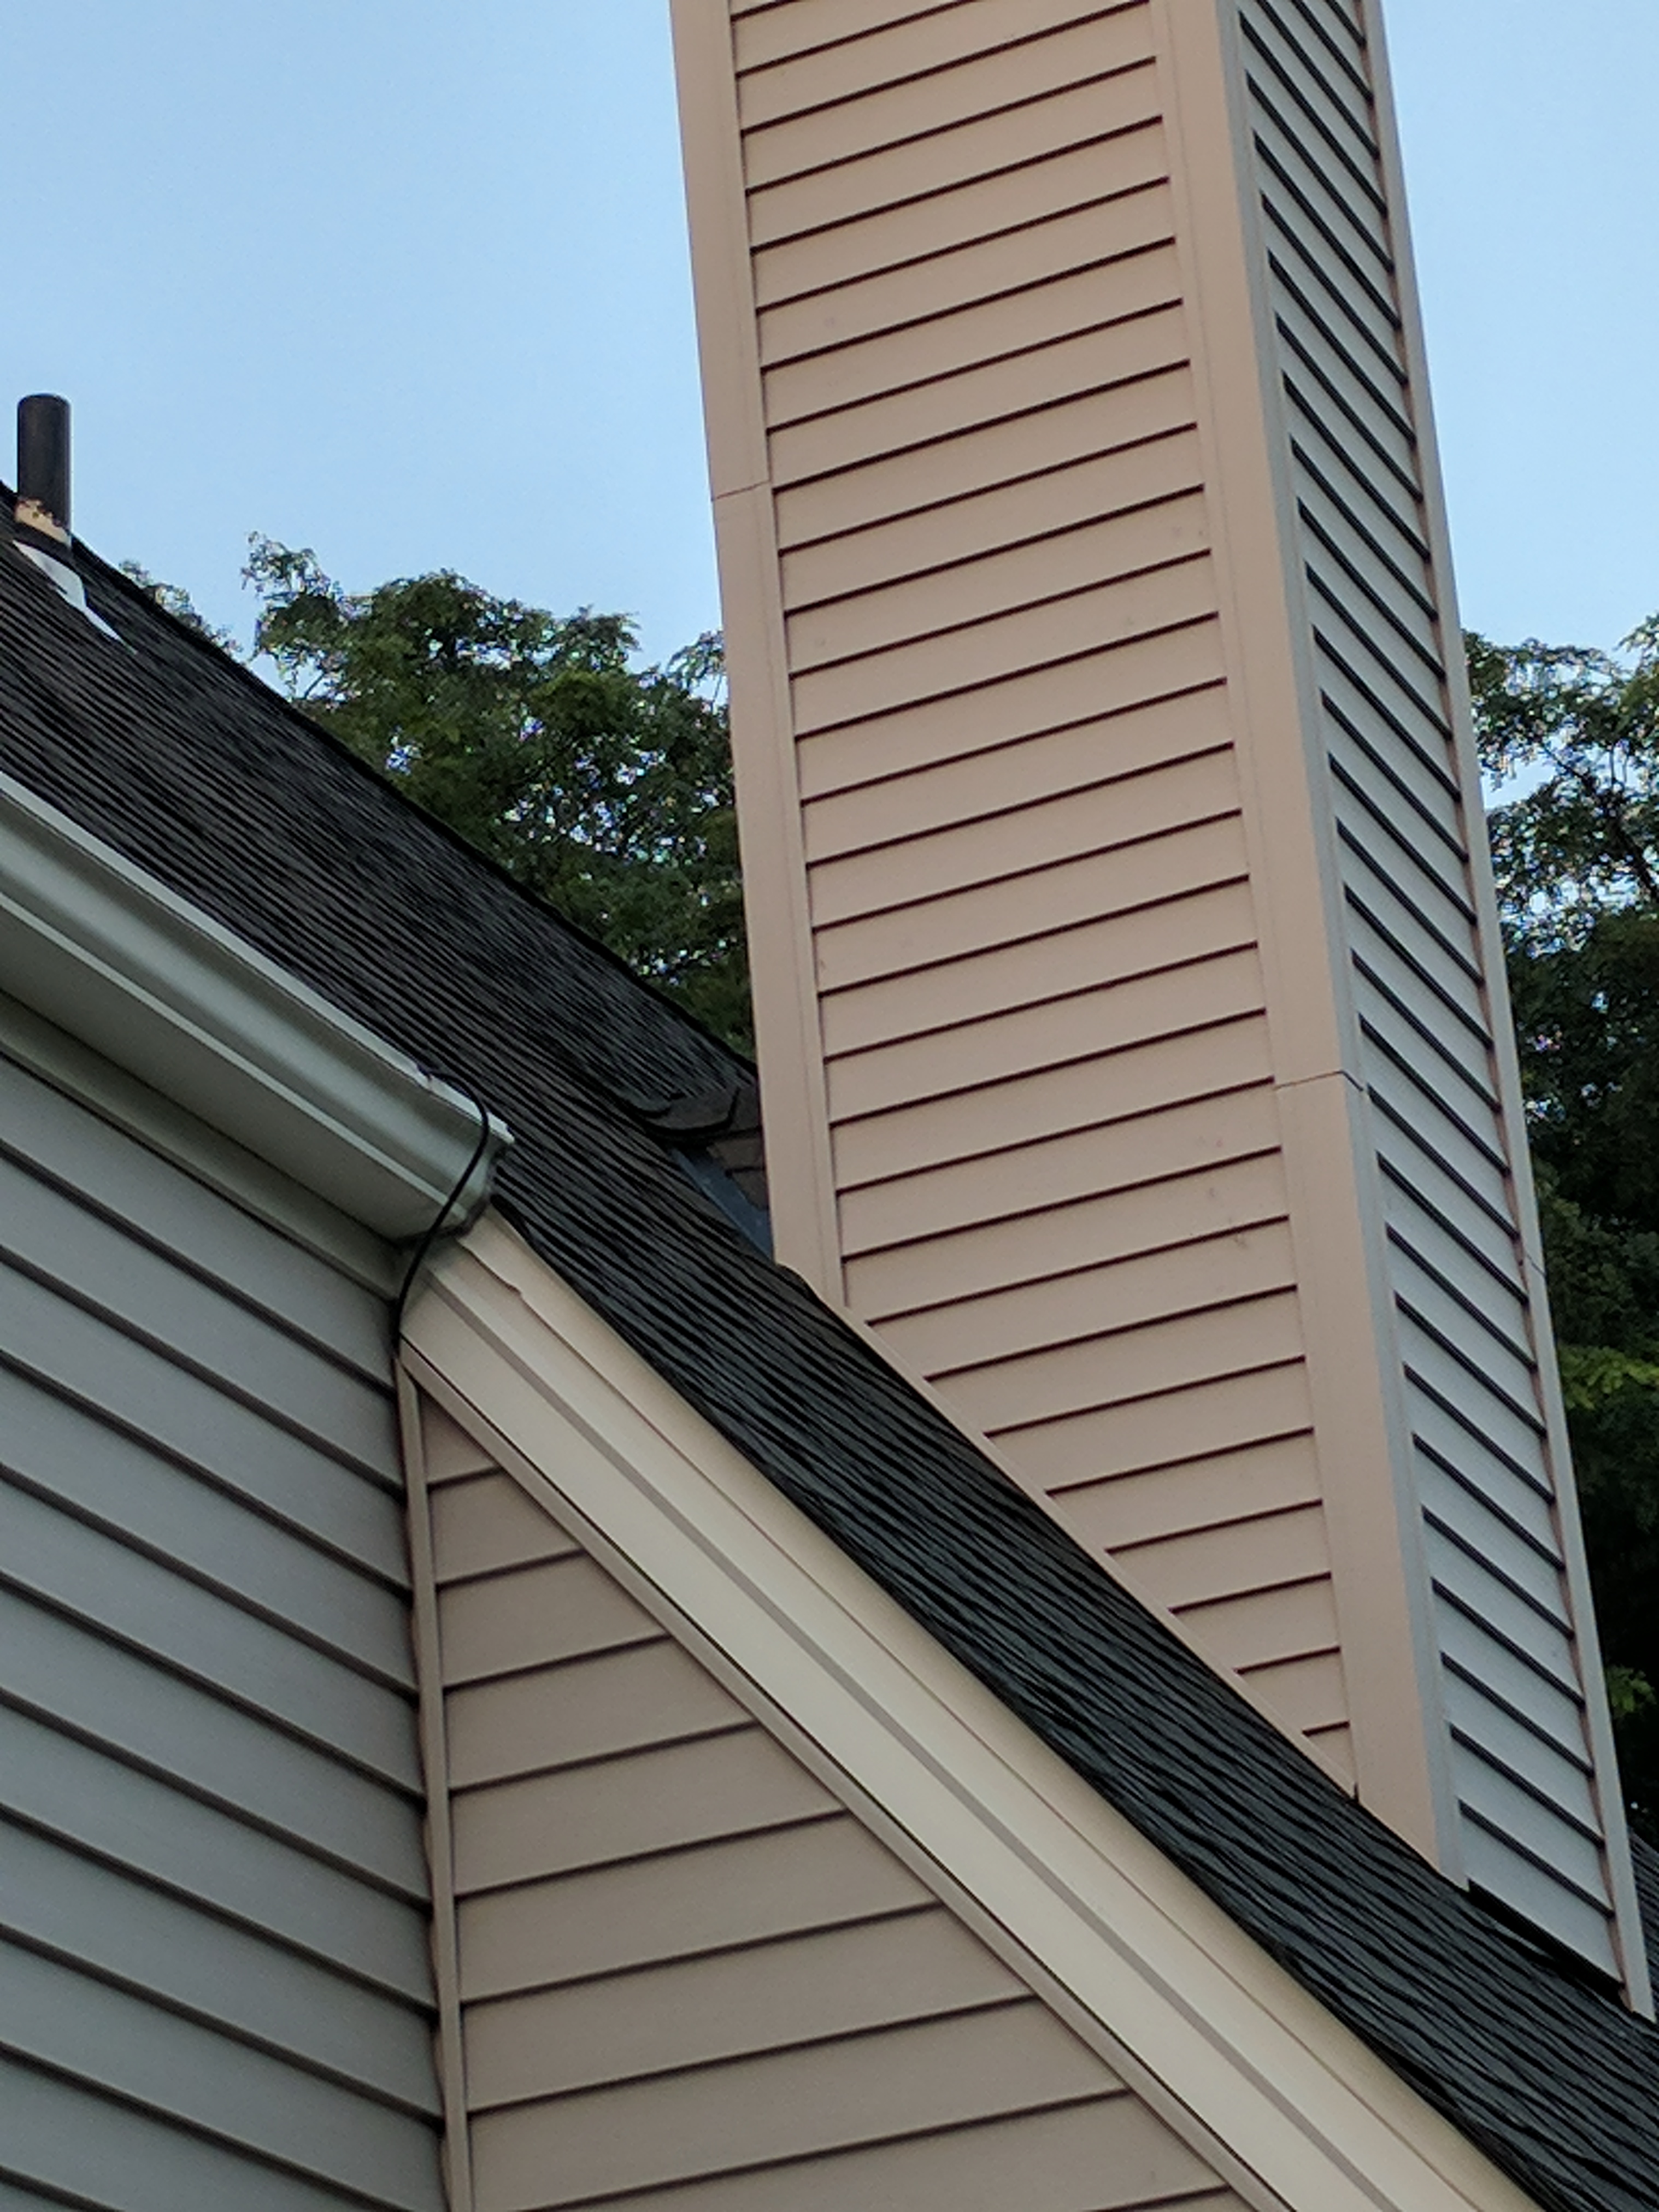
In this image, you can see that the chimney flashing all looks to be in good shape. The chimney is over 30 inches wide so the required cricket flashing is present and in good shape. The step and counter flashing are hard to see under the siding but the apron flashing is in place and in good shape as well.
In this chimney height picture found in the Nachi gallery, we can see that there is a chimney within 10 feet of the roof ridge. The chimney is properly built being two feet higher than the anything within 10 feet.
Kickout flashing is a fairly recent development and serves an important role in diverting water away from areas on a roof, most iportantly where a gutter meets a chimney or a vertical outer wall extends past an eave with a gutter which meets it. Kickout flashing diverts water into the gutter and away from the wall cladding where it could otherwise penetrate into the walls and cause damage.
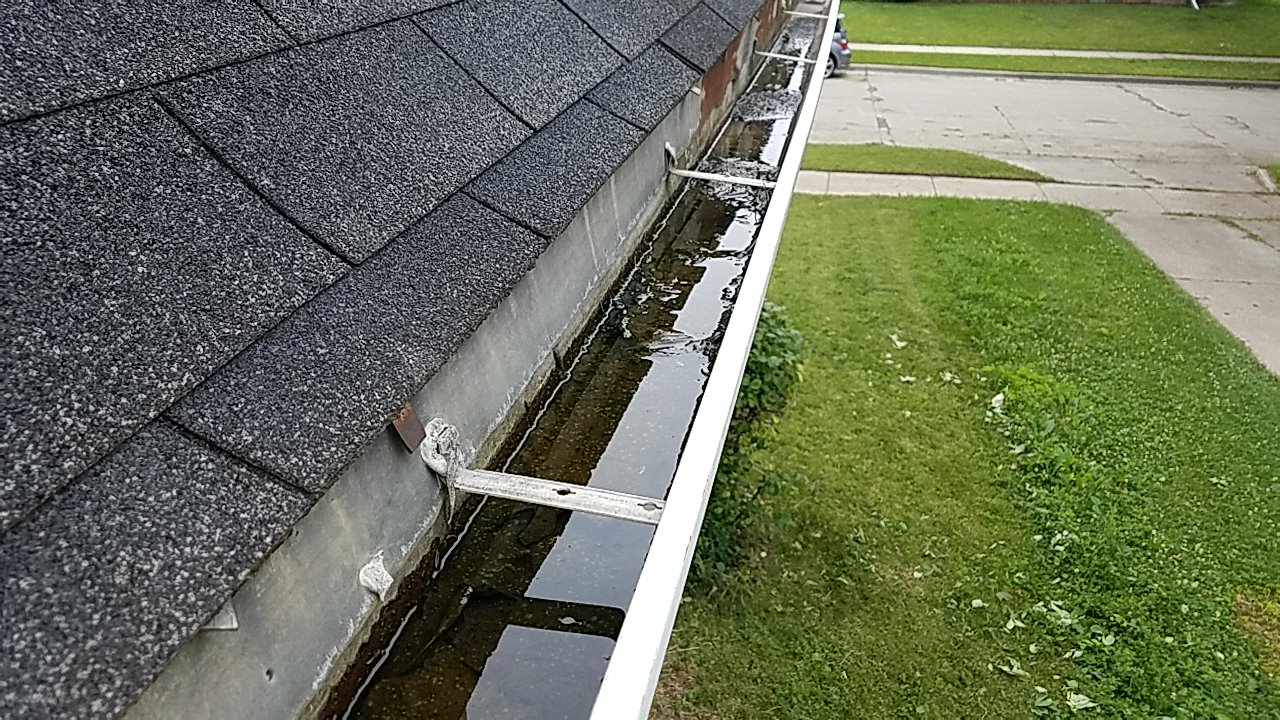
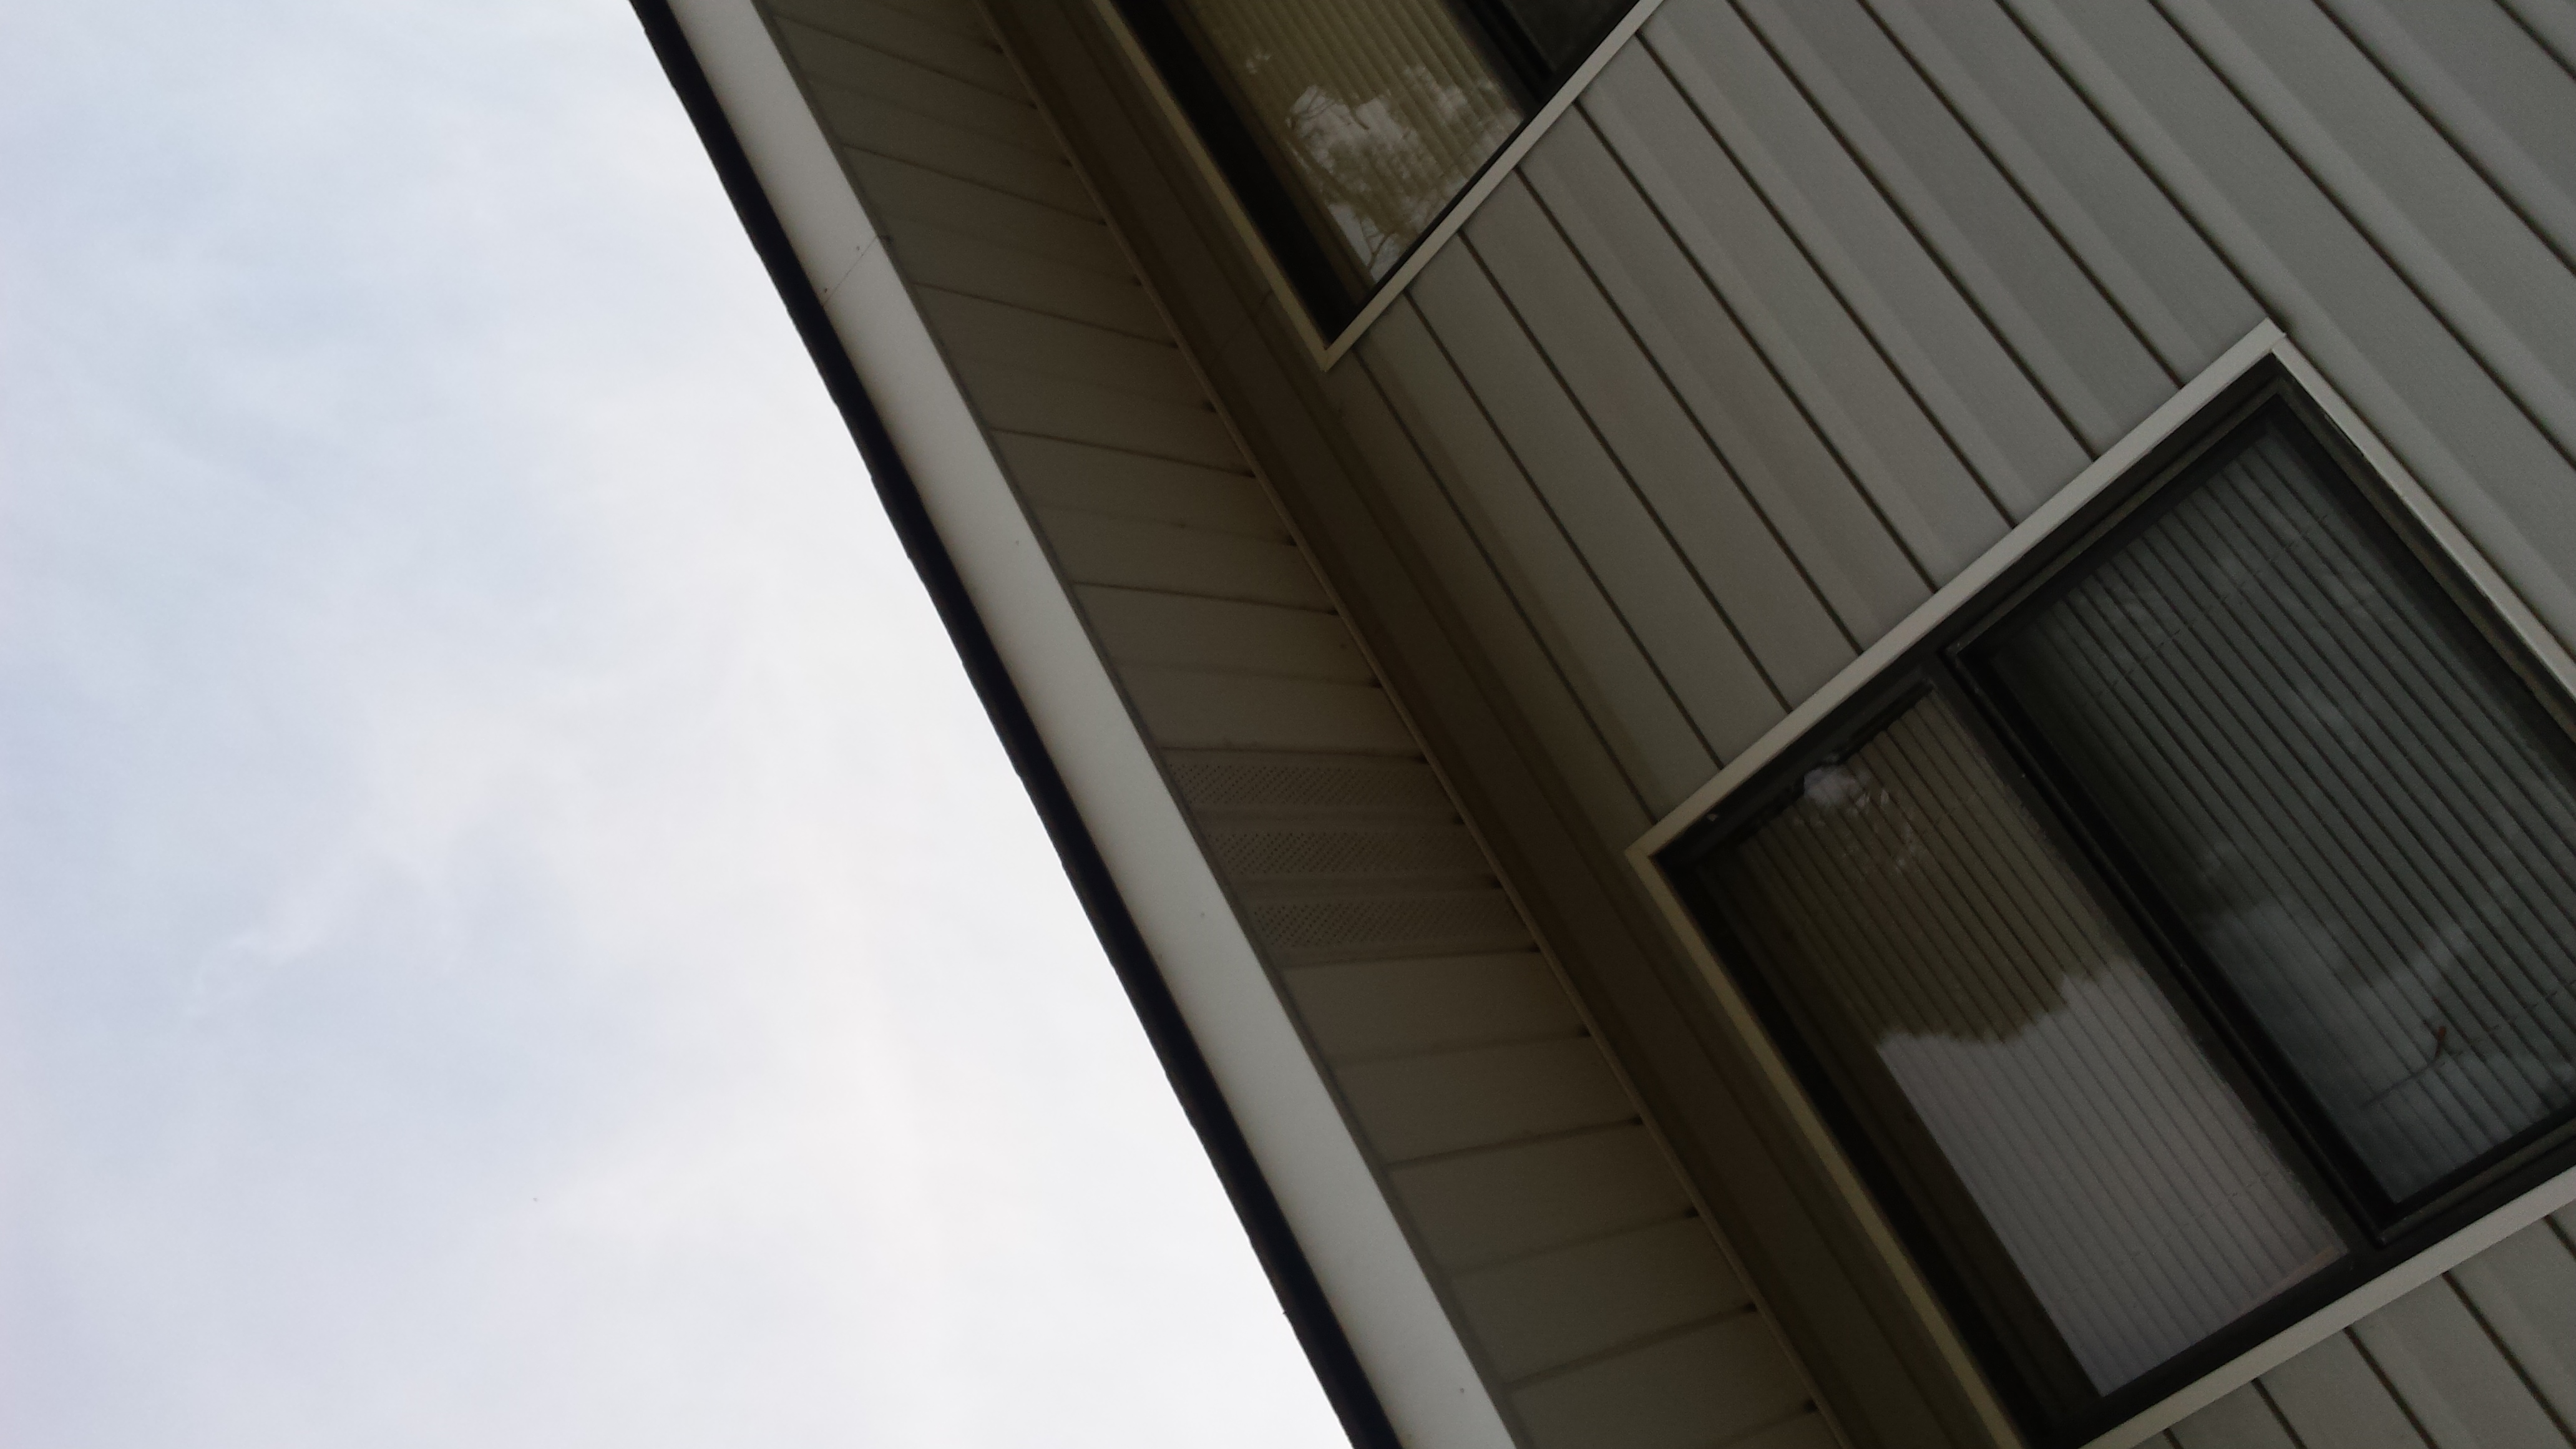
In multiple areas water was pooling in the gutters. This condition suggests the gutters are not pitched properly or the downspouts may be clogged. This can result in spillage and runoff draining to the foundation. This condition can result in excessively high moisture content in the soil at the foundation and can cause damage related to soil/foundation movement. Recommend evaluation and repair as necessary by qualified individual.
When accessing hail damage on a roof covering, the claims adjuster will create a 10 x 10 foot square on each slope on the areas with the most damage. A count of the number of functional damage hailstrikes are made to determine course of action required.
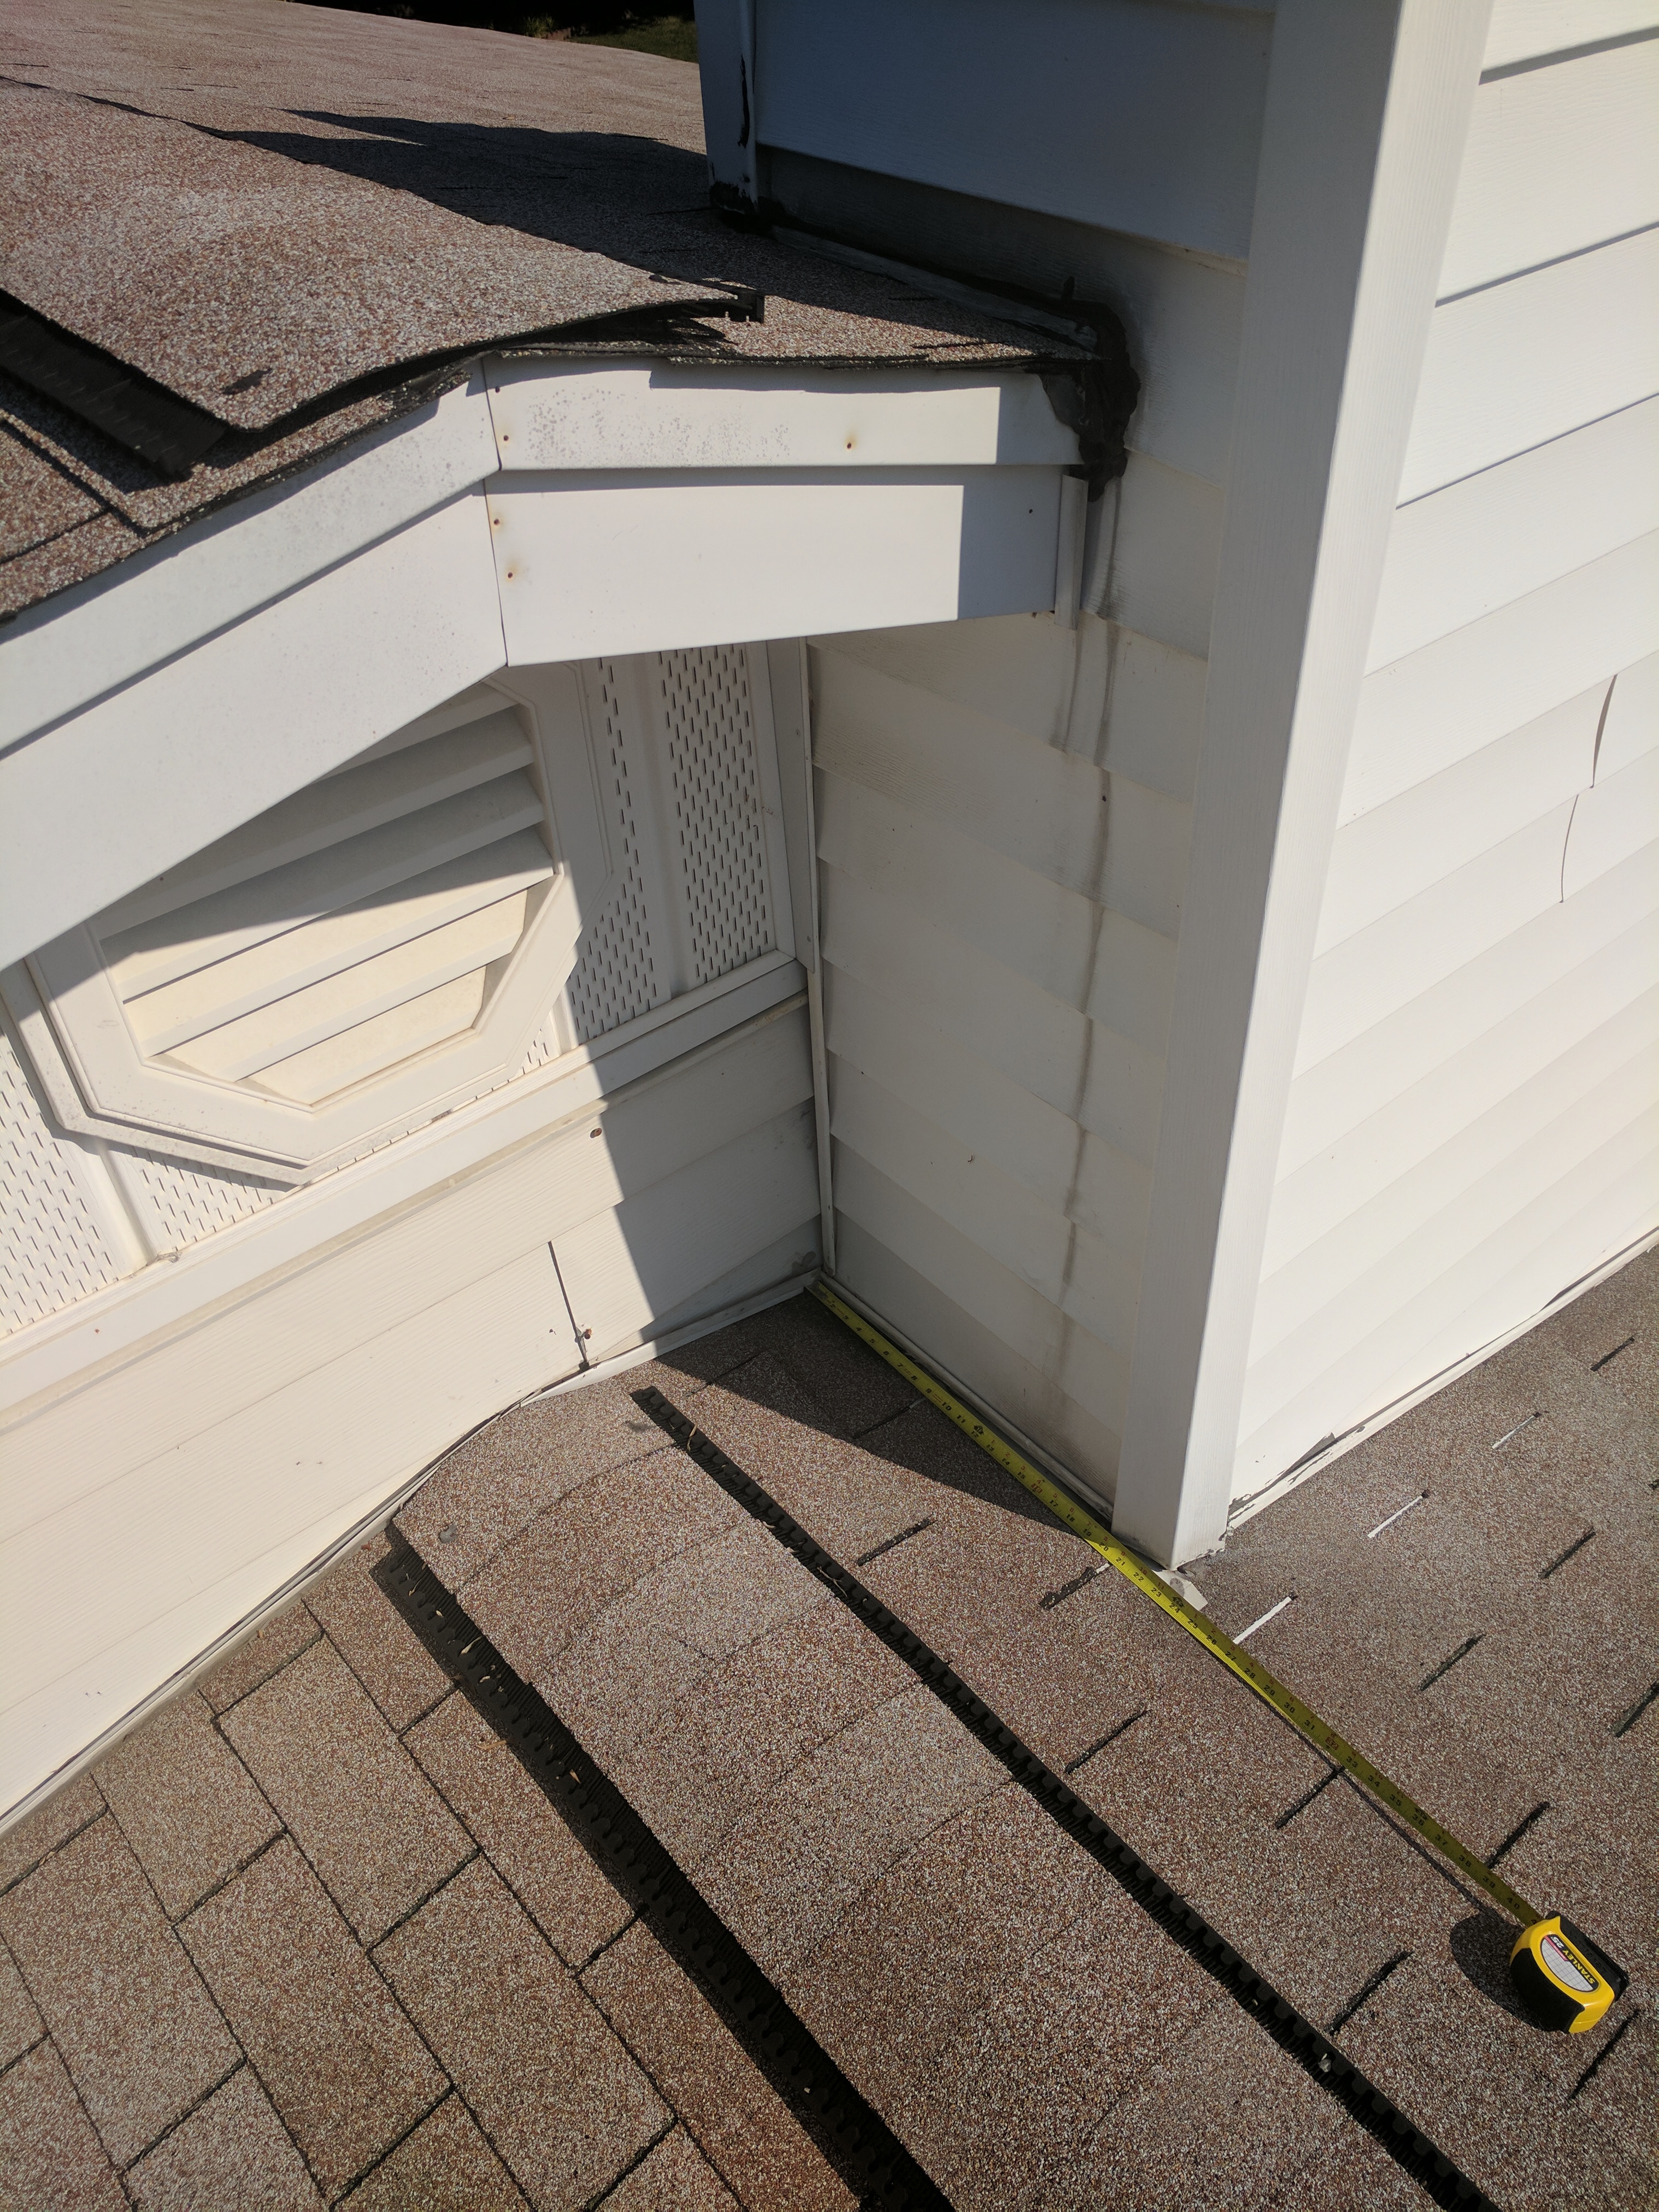
There are a combination of two types of ventilation present here. First the soffit and ridge, (best practice) and traditional gable vents for cross ventilation of upper portion of roof structure. Step flashing is present around chimney penetration sides, with apron flashing on bottom edge and back flashing on top side of chimney as the width is only 23" and does not require cricket flashing. There are signs of water runoff down the back of the chimney but no evidence of water intrusion in the attic.
Chimney Flashing is a very important aspect of roof penetrations and one that should be inspected closely. There are many types of flashing used to seal the penetration from water intrusion but they must be installed correctly in order to effectively do their job. The “Apron Flashing” is the flashing that is located at the bottom side of the penetration and runs “down and away” from the chimney. Step flashing should do just that and “step” up the sides of the penetration with the roof covering. Counter Flashing is overlapped over the top of the step flashing and generally cut and sealed into the mortar of the chimney. If the Chimney is 30" wide or more at the rear of the penetration a simple backside flashing is not sufficient and a cricket should be placed to run off excess water build up to prevent intrusion.
The gutter system appears to be 4" aluminum seamless with aluminum 4" down spouts. The gutters appear to be properly installed and functioning correctly. There was a minor amount of debris noted in the gutters.There are downspout extensions present that appear to be intentionally disconnected. We suggest these extensions be reconnected and properly directed toward a swale and or ground drain.

Clearances for pitched roofs:
The chimney is a brick and mortar style chimney that appears to be properly installed, in good condition and functioning as designed. The chimney is located more than 10 feet from the ridge line. The chimney extend 3 feet above the ridge line an appears to be correctly flashed and water tight.
I selected the article, “Mastering Roof Inspections: Attic Area Roof Inspection”, by Kenton Shepard and Nick Gromicko. In this series of articles, it is important to know “how to recognize proper and improper conditions” while inspecting the Roof. Often what lies beneath the surface can be very revealing. Safety awareness is obviously important when performing home inspections, particularly when inspecting Roofs and the related systems, such as the Attic. Insulation may become airborne, mold may be present; which leads to decay. The use of a moisture meter will help to confirm moisture content. It is also important to be very specific about what is found,; but just as important to avoid stating a condition that is not true.
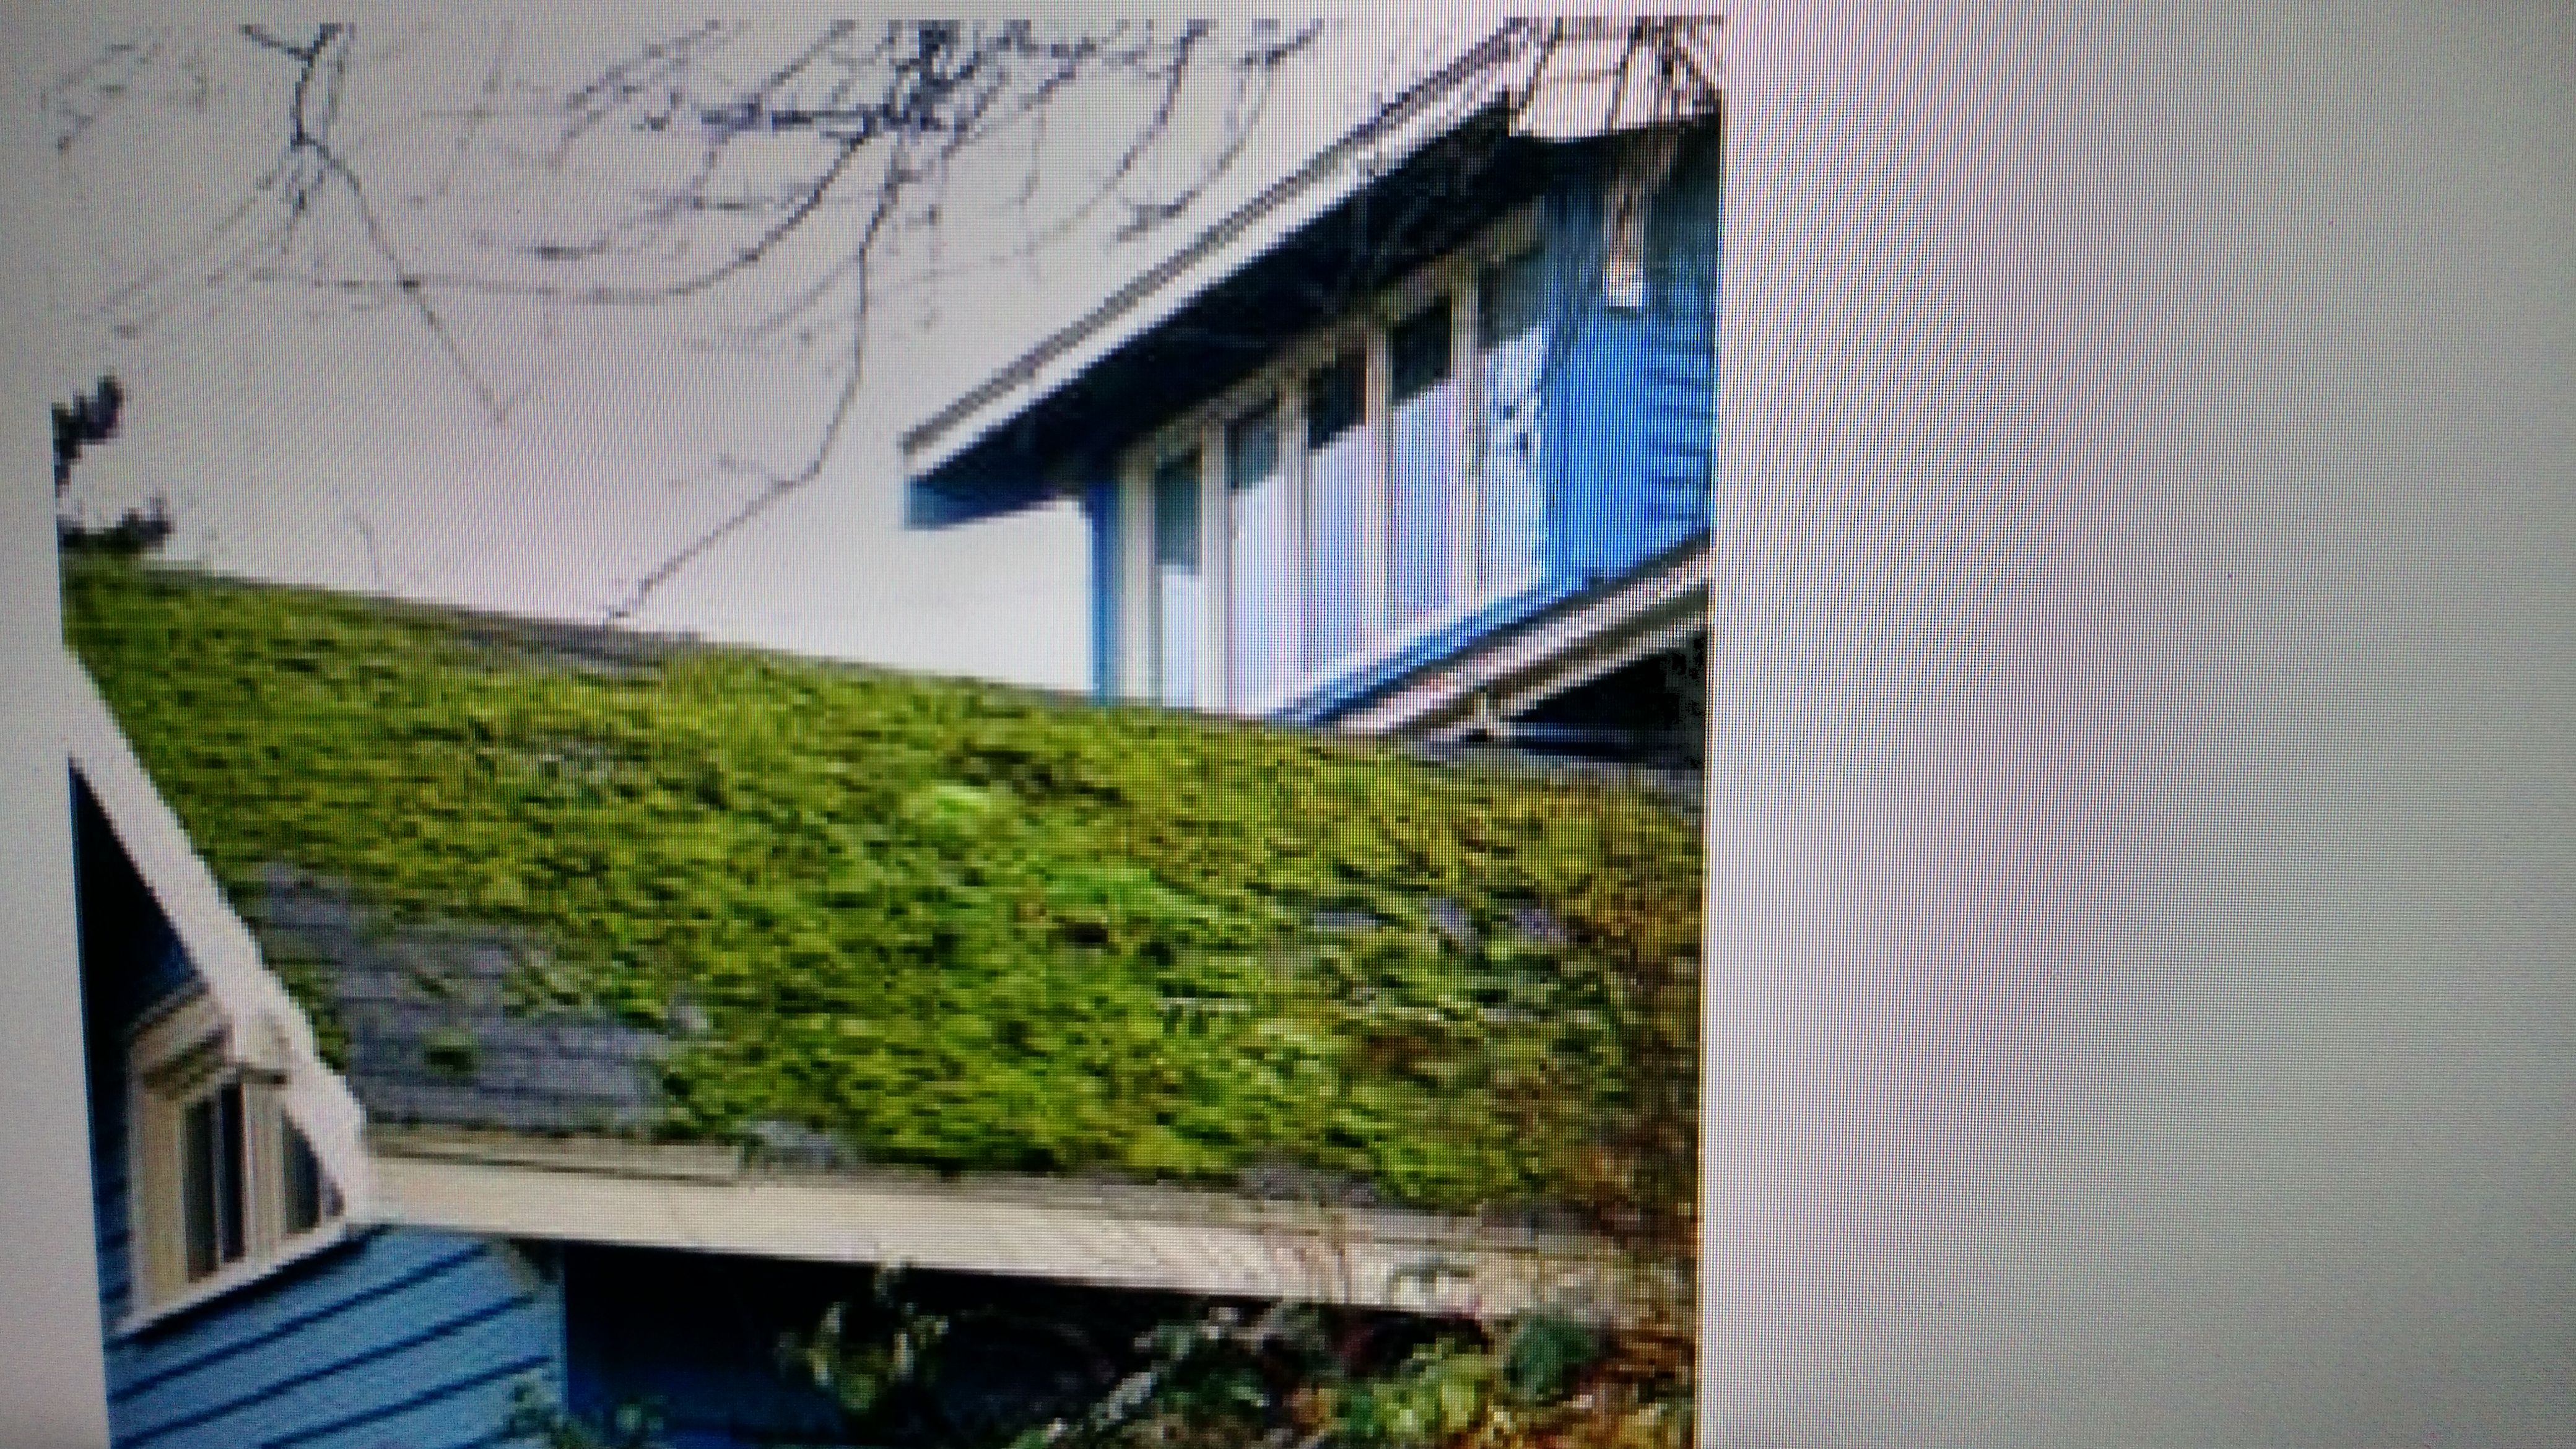
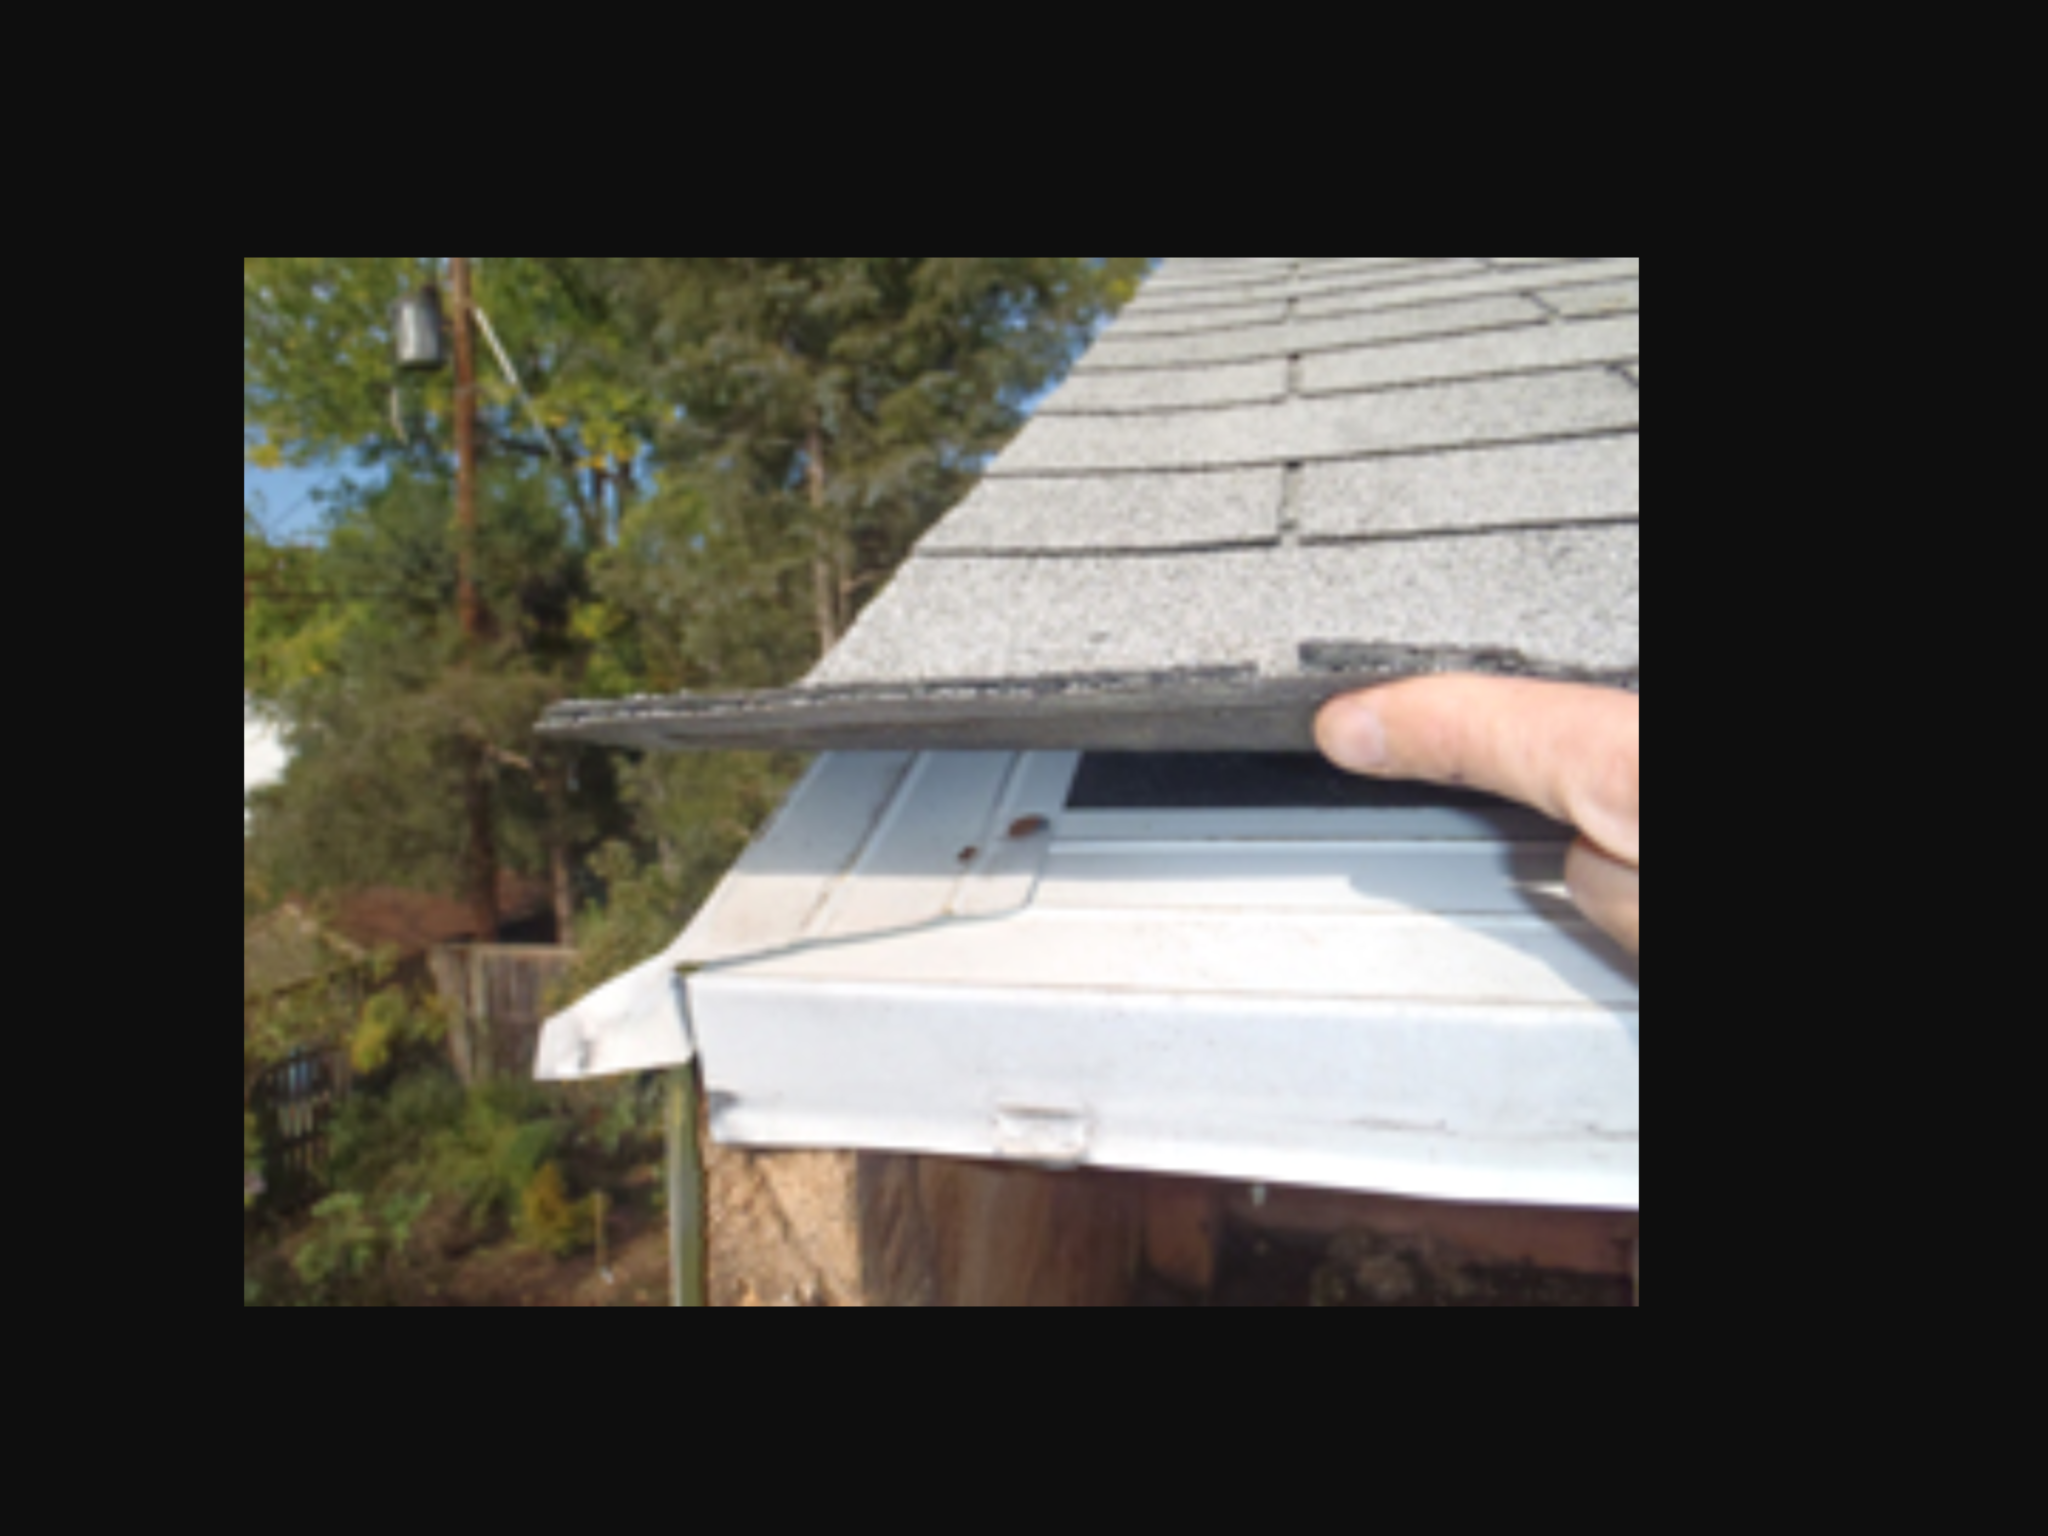
Inspecting the lower roof of the structure; found moss growing on shingles, leading to shingle damage and a sign of the presence of moisture. There is facia damage; water is backing up as a result. There are no rain gutters on either the upper or lower portion of the roof. This is an unreliable condition. Therefore, I would recommend to the buyer or seller to contact a professional for further observation and evaluation.
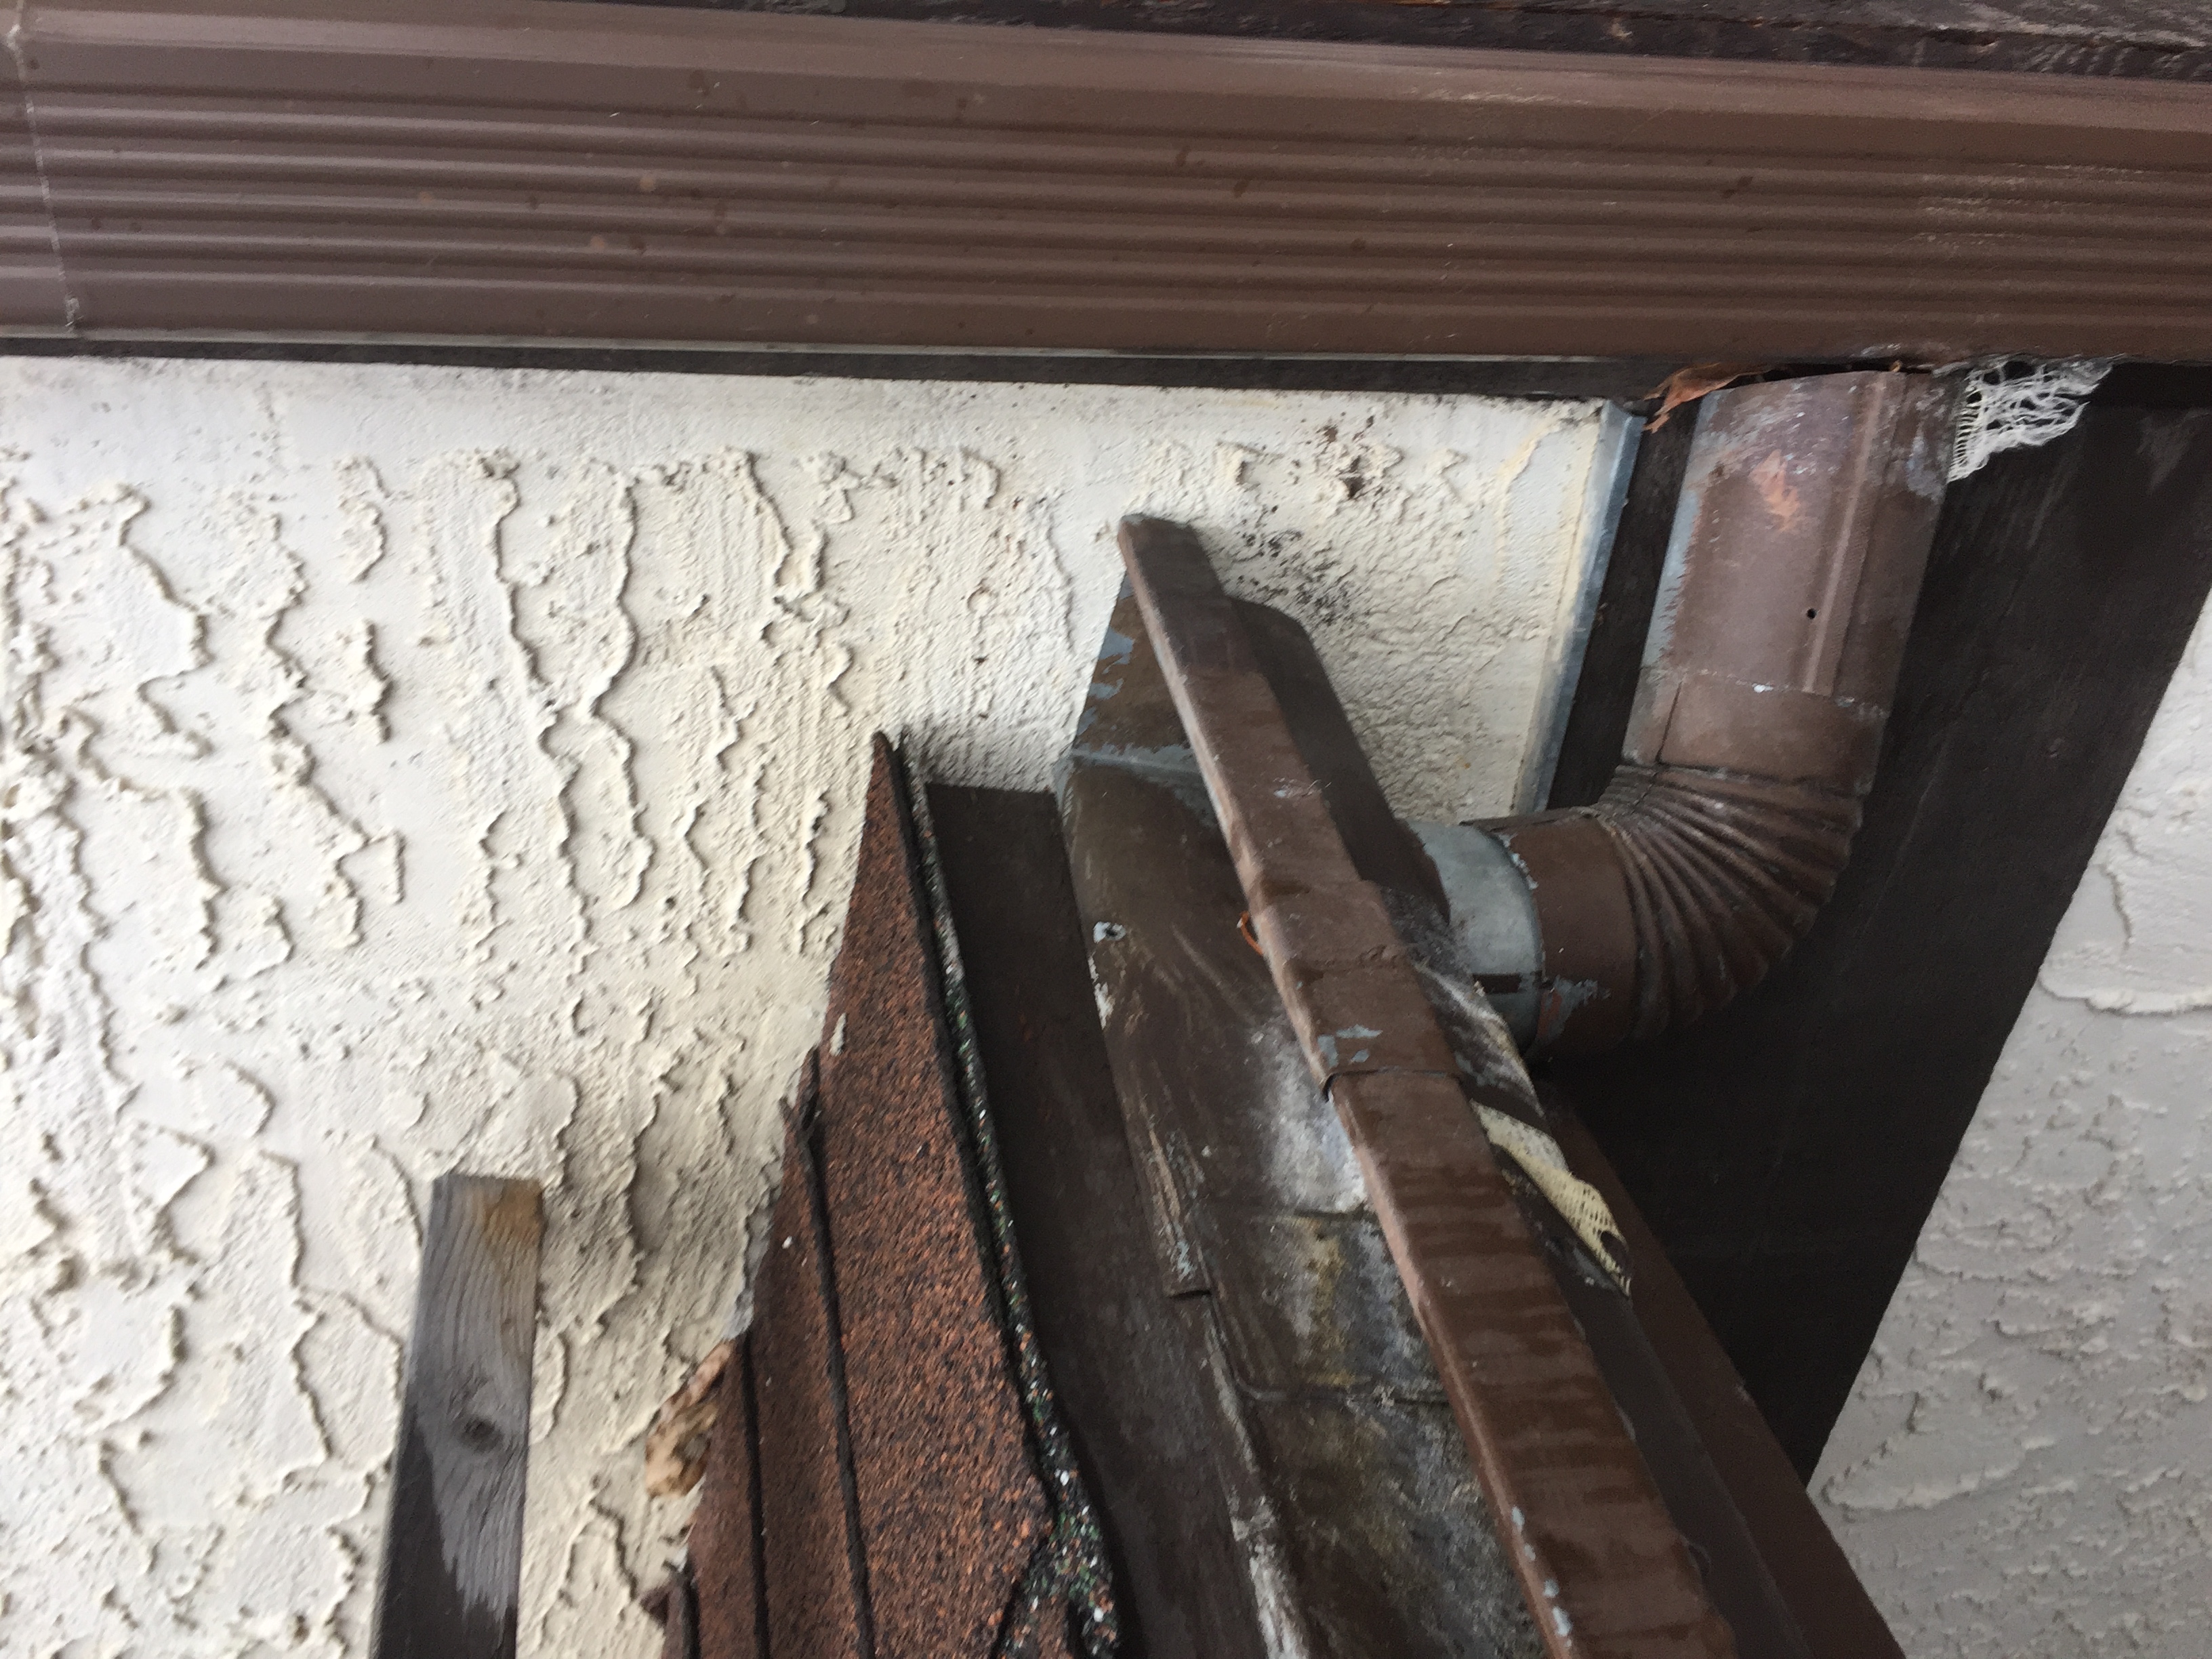
This is a picture i took note on and recommended gutters. I recommend this because it was having effects on the concrete underneath. You could tell the damage it was doing with all the water constantly pouring on top of it.
My article was about carbon monoxide safety and dangers. Carbon monoxide is a deadly odorless gas that we need to warn homeowners about. If client has and fuel burning appliances they need to have a carbon monoxide alarm on every floor of the house near all sleeping areas.
At the gallery I picked a chimney. I looked at the chimney flashing, which is located at the top of the chimney. The flashing protects water from entering from top of chimney. The head flashing is along the roof line, above the top side of the roof which re-directs the water around the chimney. Step flashing is designed to form a downward angle at the sides of the roof. Counter flashing is installed 1 inch into mortar joint of the chimney. Counter flashing is over the step flashing and under the shingles which redirects water from the chimney. The apron flashing is the front flashing on the chimney.
Part 1 of the articles on mastering a roof inspection. First thing about it is to assess the roof for safety first. Different slopes and conditions will determine if it is safe. There a some typical maximum slopes that would be walked. A pair of roofing boots would also be an asset if deciding to walk on a roof top.
In this photo there is an example of a lack there of roof to wall flashing. We can see that there is an under layer and ashphalt shingles. There are also issues with the rain water leader as it isn’t sealed to the downspout.
In this photo, the felt paper was installed wrong. When working on a bare roof, drip edge should go on first at the bottom. Then the felt paper, #15 or #30, should go on then the drip edge on the sides
The Imagie i chose was lack of gutters. Having no gutters will definitely cause damage. Having no gutters, and poor grading away from your house can easily destroy your foundation, which eventually will let water come in to the house, if you have a basement, causing mold and damaging drywall and flooring, not to mention weakening the foundation support. Wood siding is at risk also without gutters, with rain water splashing up, causing the wood to rot from the bottom