This is the air condoning unit in a condo. The condition of the unit is very poor. There is possible mold growth on the left side of the unit. The air filter has been recently replaced so that is good. There is obvious sings of rust in multiple locations. There was some standing water in the drain pan. The unit is beyond is service life but still functioning.
this is a must have too for the inspector. All of the outlets in the house will needed to be tested for functionality. However not all outlets need to be GFCI. They are inserted directly into the outlet. There will be a serious of lights that indicated the condition of the outlet. Then the inspectors pushes the appropriate button to simulation and ark. If the outlet is functioning properly it will trip the main AFCI in the loop.
Carbon Monoxide Poisoning and Detectors, today I saw an article about Carbon monoxide detector not working. A fire department in Illinois collected about 10 detectors from different brands and tested them putting all units inside a sealed room with a car engine running. Only 3 of the Carbon monoxide detectors worked. The levels of CO got as much as 1000 ppm.
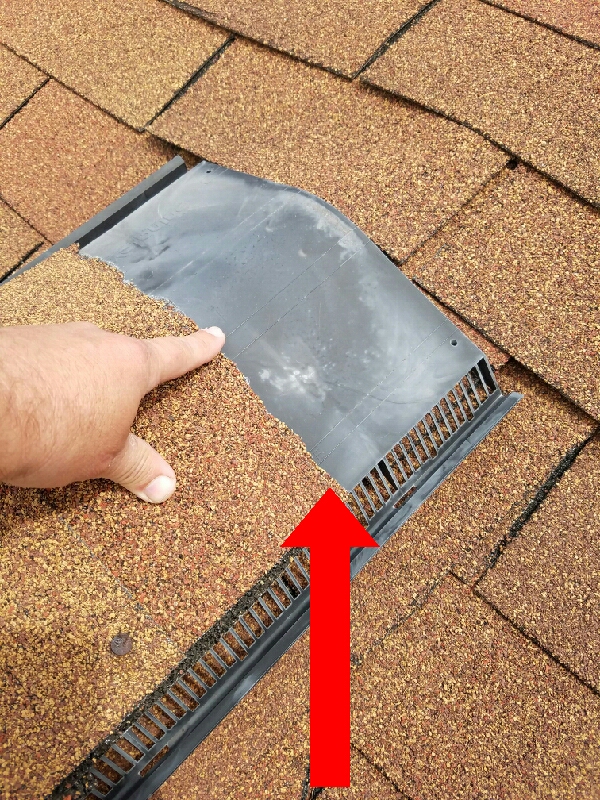
This is a picture I took of a ridge cap shingle missing. When I got into the attic I observed a leak near and some mold like substance on the plywood. Soffit vents were covered with insulation and the bathroom exhaust fan was discharging inside the attic. j
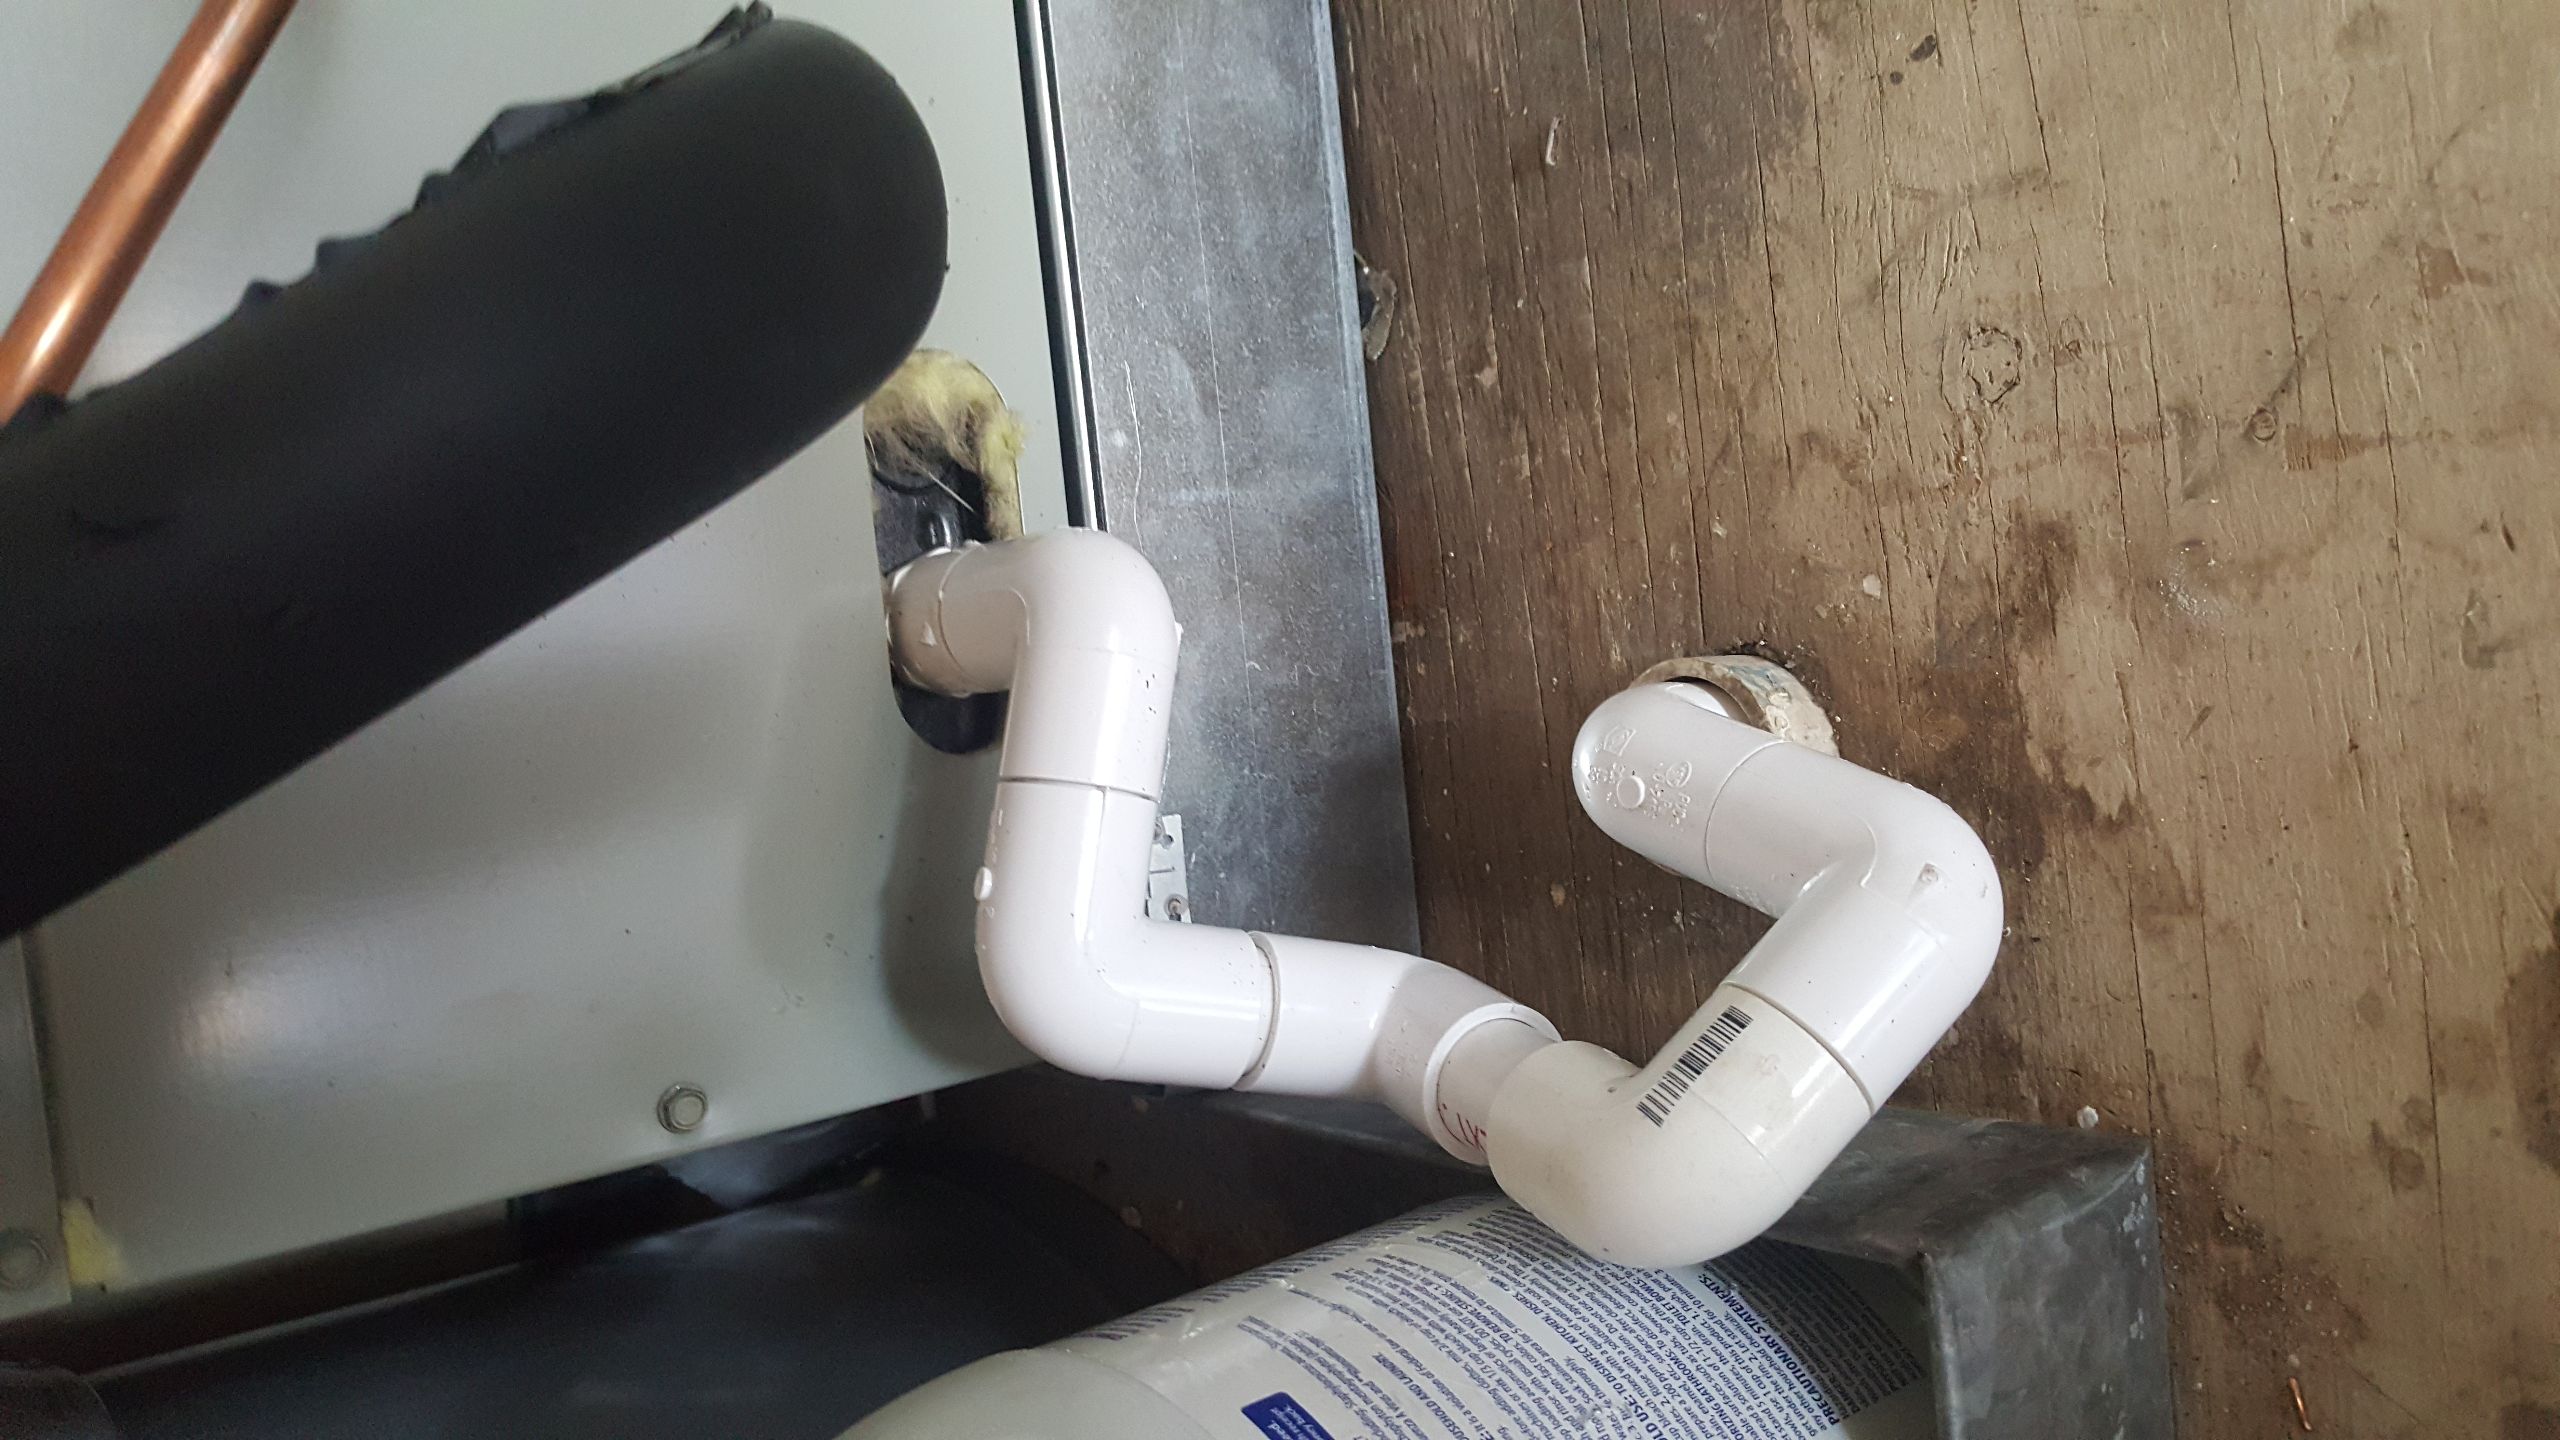
Upon inspecting the furnace closet. I found the condensation drain running higher than the drain pan. you can see water damage on the platform as well as in the return plenum. my recommendation is to have an HVAC professional re-run the condensate and install a proper trap.
I learned that Greywater is wastewater collected from the showers, sinks, tubs and washing machines that would normaly be sent down into the sewer. Greywater is not drinkable, but it can be used for some household activities like flushing toilets and, most common, for gardens or irrigation. Greywater is not the same as “blackwater,” which is water that has come into contact with fecal matter or people who carry infectious diseases.
Moisture was present in the drip pan at this attic air handler accompanied by stains that indicate a potentially long term drip/leak. This condition can lead to moisture intrusion onto/into the homes structure which can cause damage as well as conditions leading to potential microbial growth such a mold and eventual decay. The Inspector recommends further evaluation, and any corrections needed, be performed by a qualified HVAC contractor before the expiration of this Home Inspection Objectives deadline.
I studied the image of proper chimney flashing in theme with this moisture intrusion course of study. Chimney flashing should be counter flashed properly and this counter flashing should be notched into the mortar joints 1" deep and sealed at the top edge to aid in moisture intrusion prevention. The flashing installation as a whole should include proper Head and Apron flashings for a fully protected chimney stack penetration.
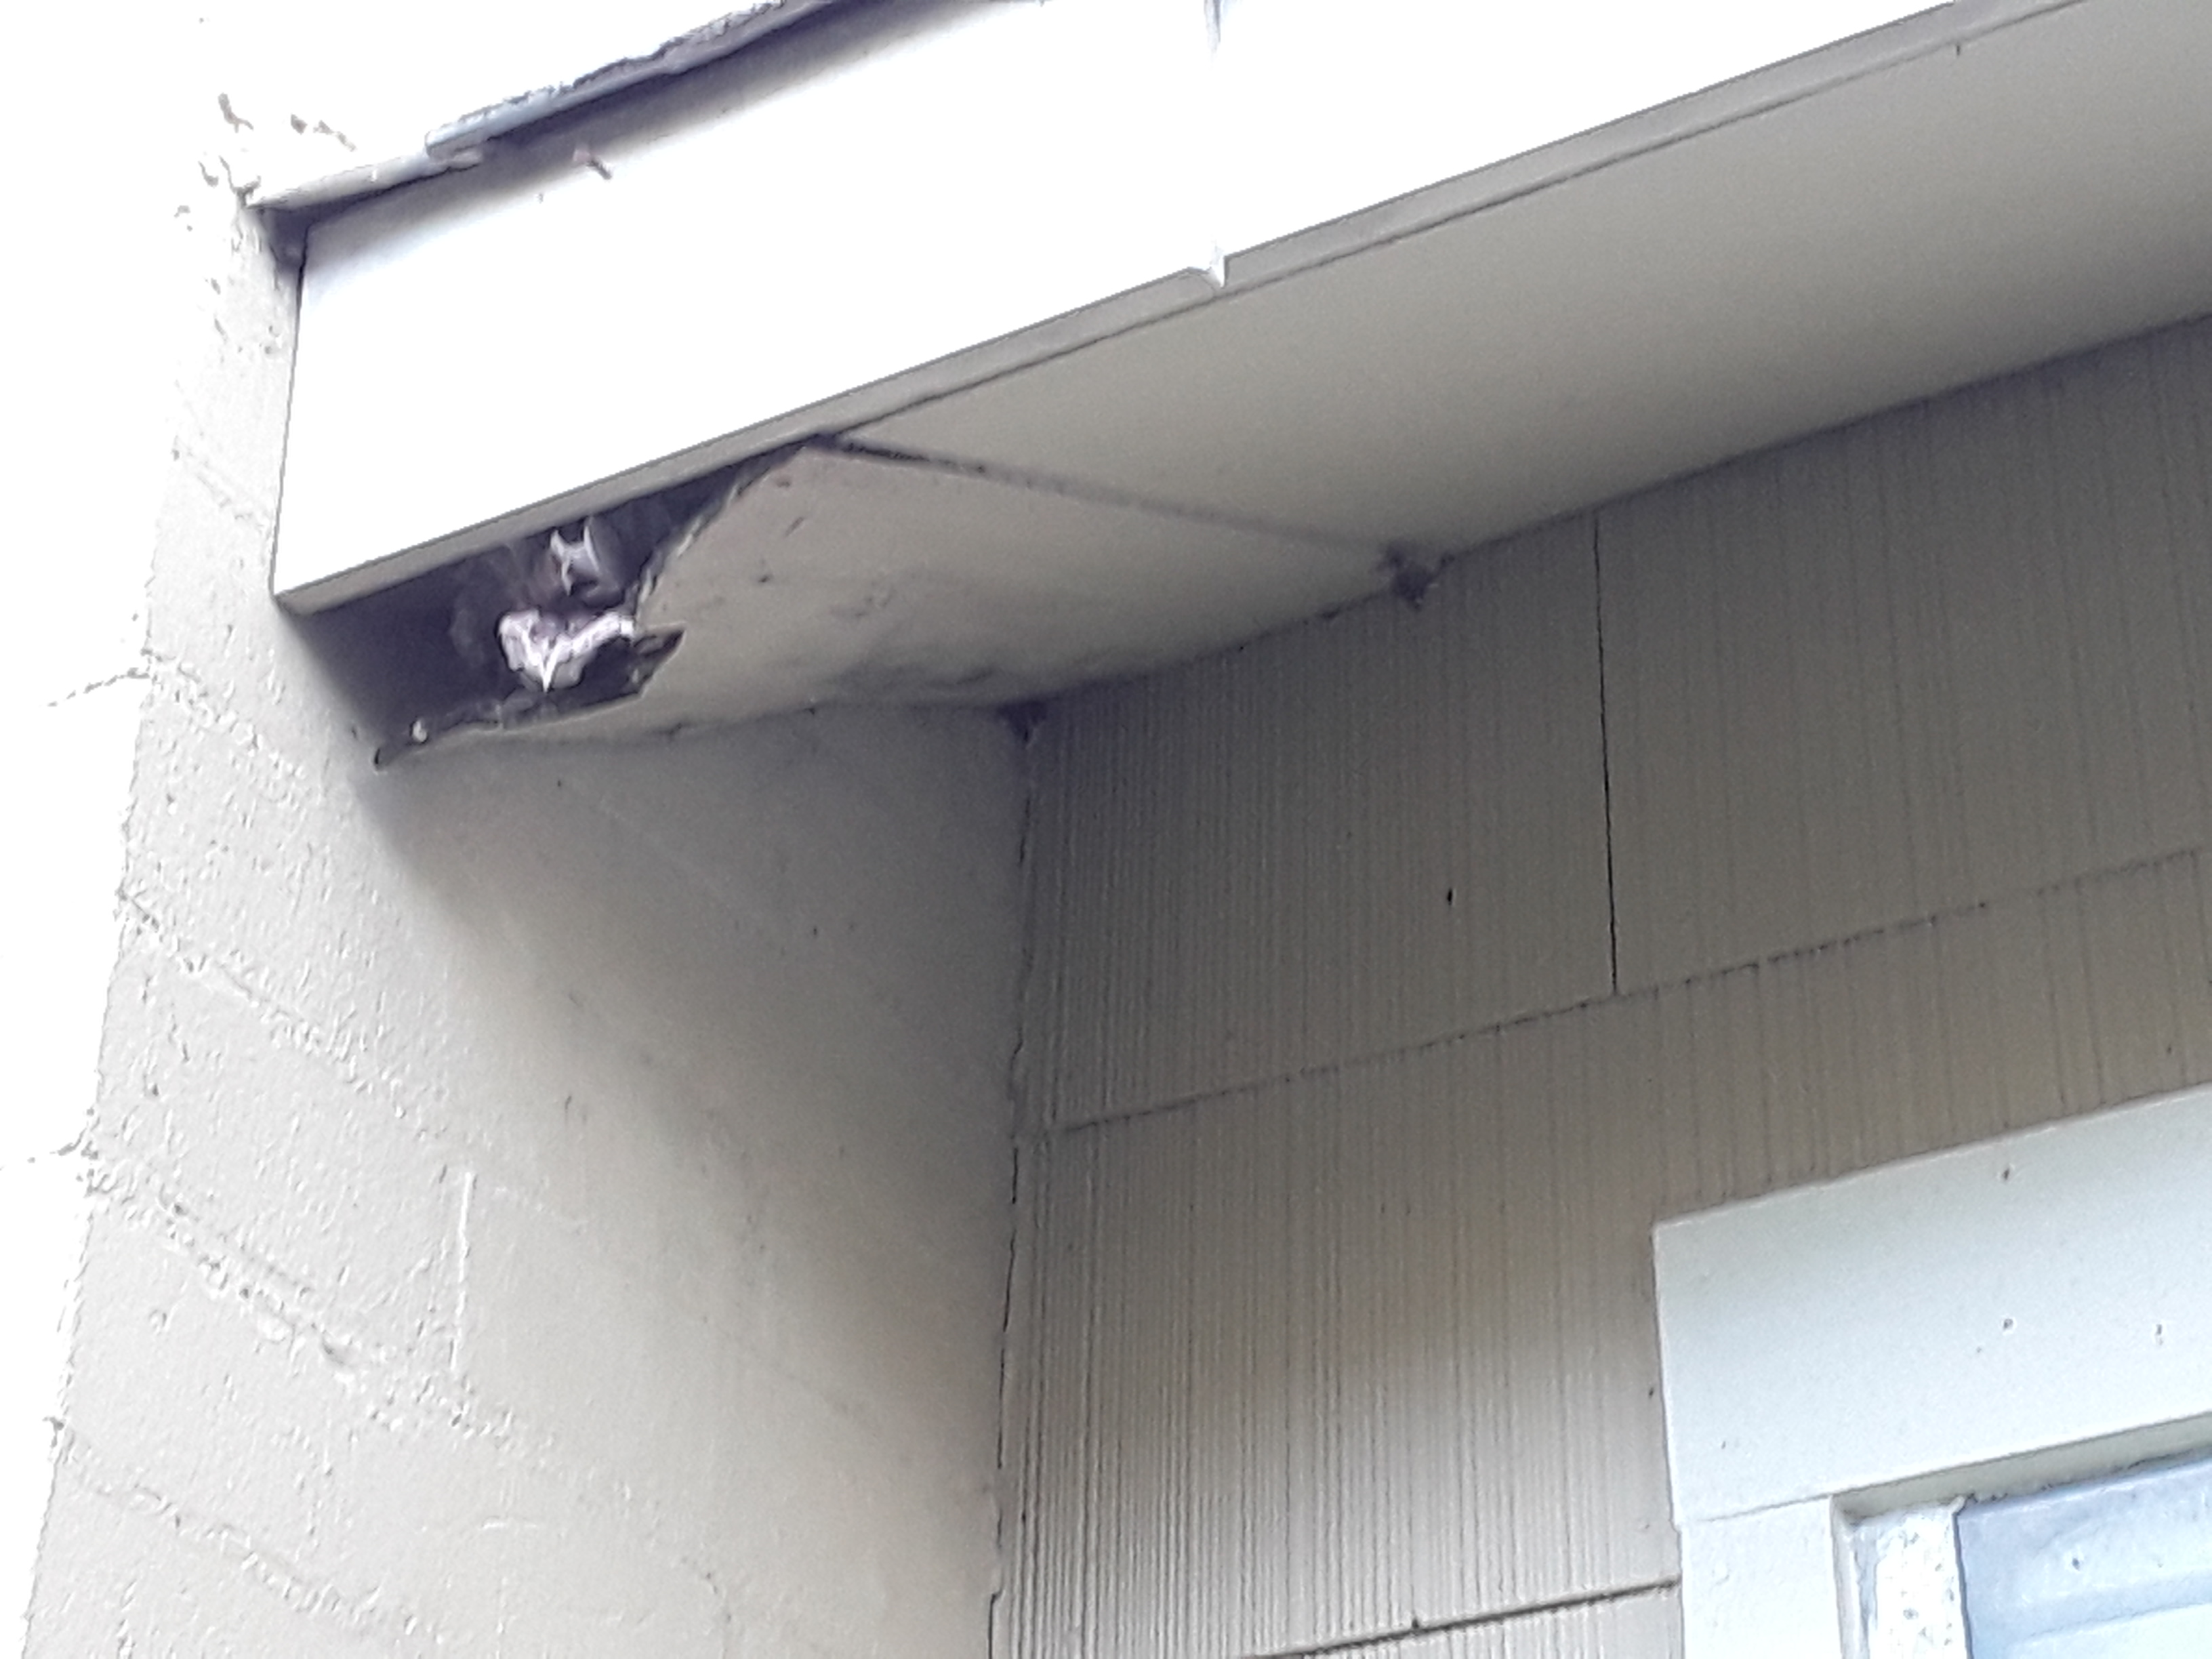
In my photo you can see the damage already done due to the lack of water drainage systems. Either proper drip edge at minium or the addition of gutter would help in this situatiom. Once water gets correctly drained from area and damage dries completly, issue then can be repaired.
My artical covered the trapping of moisture during the building or repair process. Ive had examples during my flooring installtion days. We were hired to level a floor, and we did just that. With grinding and leveling concrete the job was almost perfect. This work was to sit to dry for 3 plus days. It didnt and client had hardwood installed (glue down) 3 months later the floor lifted off and buckeled. Following removal the discovery of mold was rampid throughout. All because moisture was trapped between damp concrete and new wood flooring. No good.
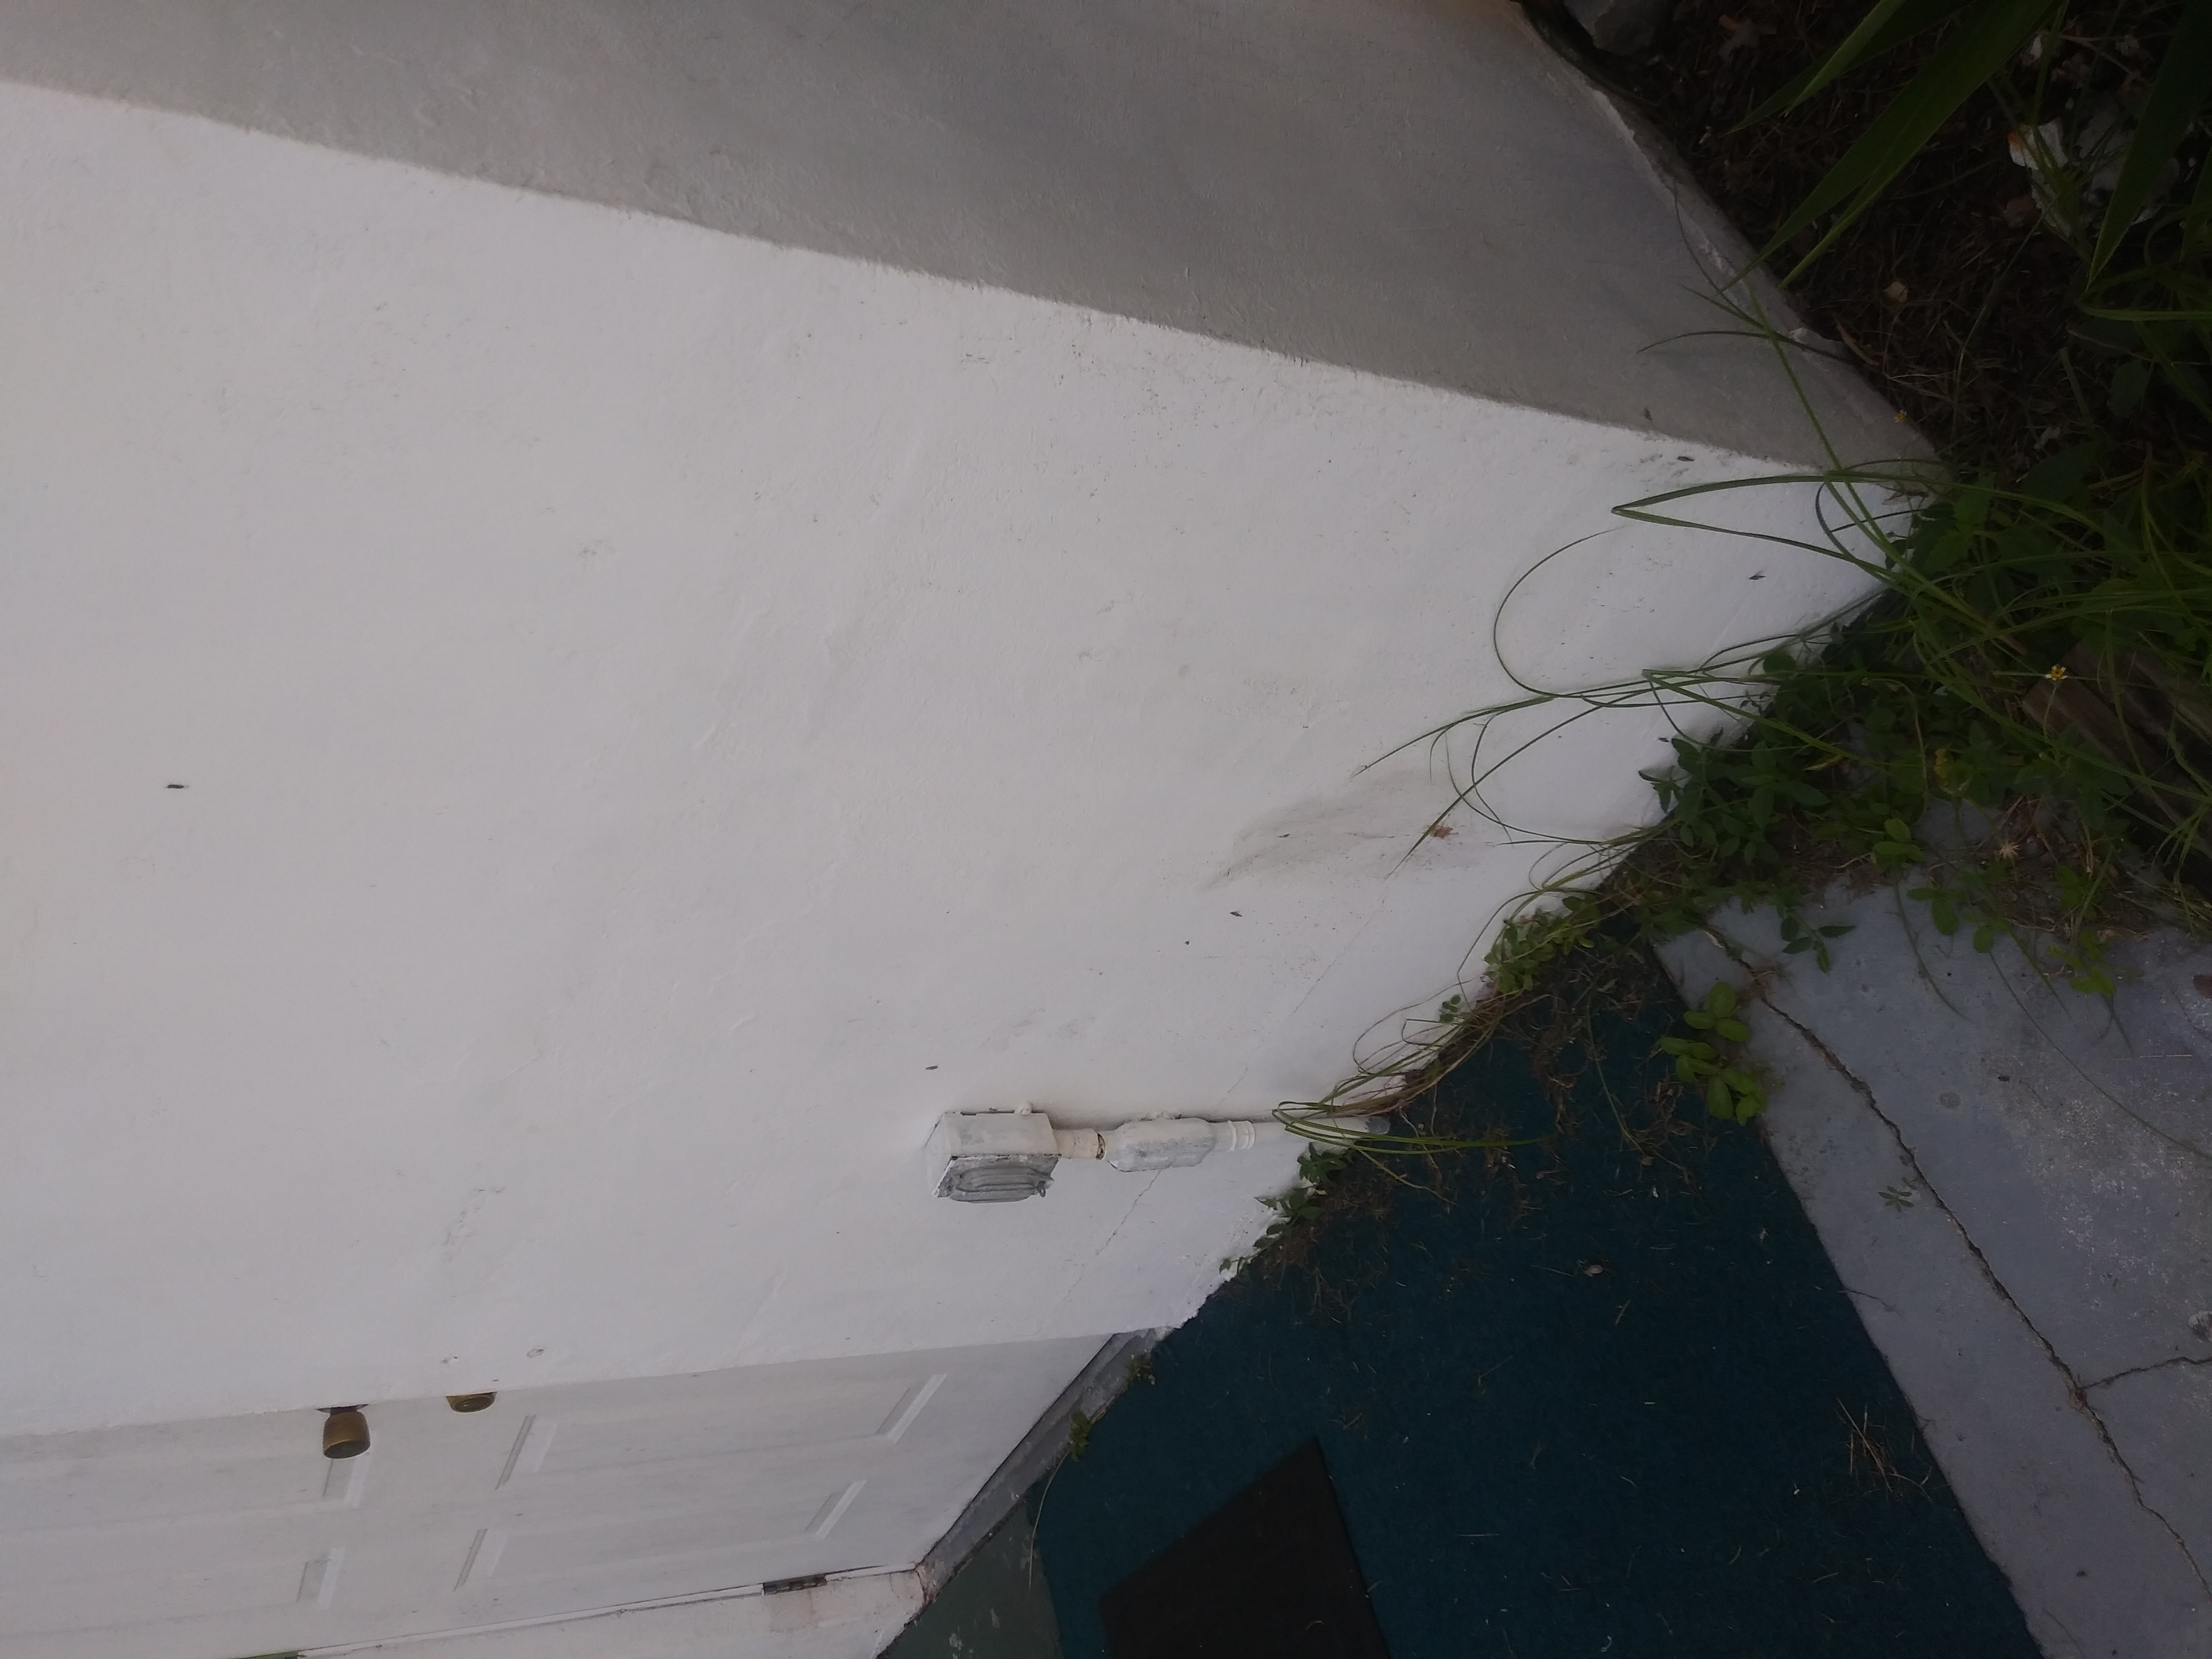
Here is a picture of a exterior block wall. It has a coating of stucco. It has plants growing out of the cement next to the foundation.This shows to much water is building up here when it rains. There is also cracks in the cement next to the wall. A gutter system is needed above this wall.
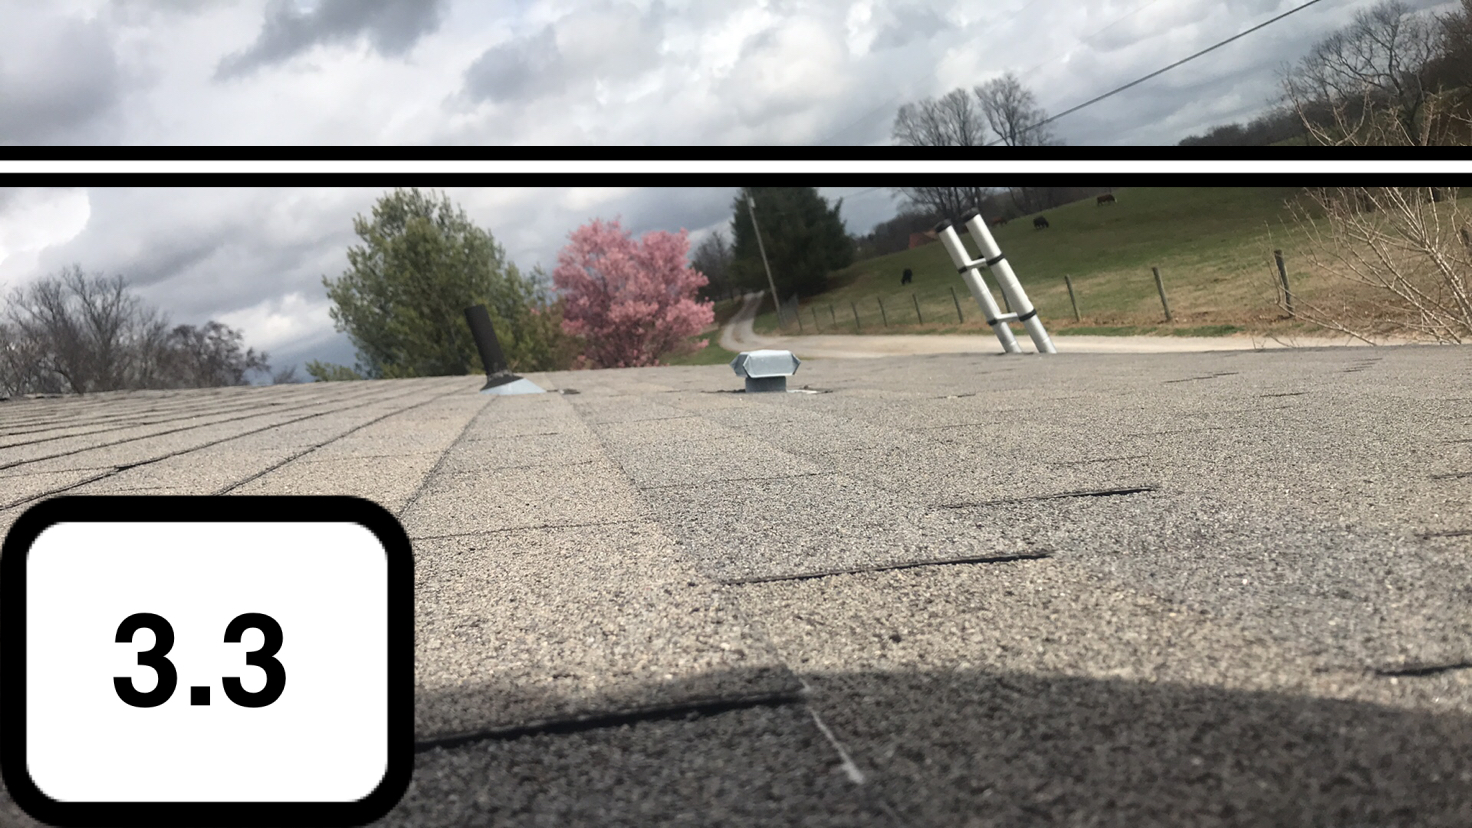
I’m looking at a gutter that is dumping water onto a lower roof out of the end cap. This creates a situation where water from different roofs end up all in one spot. This ends up wearing out the asphalt shingles there and eventually causing a leak.
Moisture-related problems include rain penetration, structural decay, mold growth, high indoor humidity, condensation, a wet foundation, ice dams, and many other issues that are familiar to builders, homeowners and insurers. For the most part, these problems are preventable and manageable. While Benjamin Franklins advice that an ounce of prevention is worth a pound of cure was originally focused on preventing fires, it applies equally well to preventing moisture problems in homes.
In the moisture intrusions article I found the following information to be useful about climate zones. In the northern U.S., moisture vapor problems are driven primarily by high indoor relative humidity levels, combined with low outdoor temperatures during the winter. In the southern U.S. (especially the southeast), the problem is largely driven by high outdoor humidity and low indoor temperatures during summer months. Mixed climates are exposed to both conditions and can experience both types of problems. Humid climates, in general, will be more of a problem than dry climates. Wind-driven rain is the main cause of leaks through the building envelope.
Pictured is where a lower gutter system is receiving flow from the roof line above as well as from an additional down spout from higher gutter near roof-wall connection point. Difficult to see in the photograph due to shading is that it appears that the flow of the water from the higher downspout is causing overflow and rain water is flowing down the outside wall over the brick slurry causing discoloration and could potentially cause an issue with the increased moisture being driven onto the masonry cladding. Additional observation inside the lower gutter showed a build up of debris in this area reducing the volume of water that could be handled by the gutter system.
Moisture intrusion is a large part of a proper inspection as there are many ways for moisture to enter into a structure. Many of the ways are easily visible to recognize like a defect in proper flashing or damage to roof covering materials. It is also important for an inspector to consider the many other various ways that moisture can enter into a structure that may not be so apparent. Moisture is able to be transported through air movement and can account for more than 98% of all water vapor movement in building cavities.
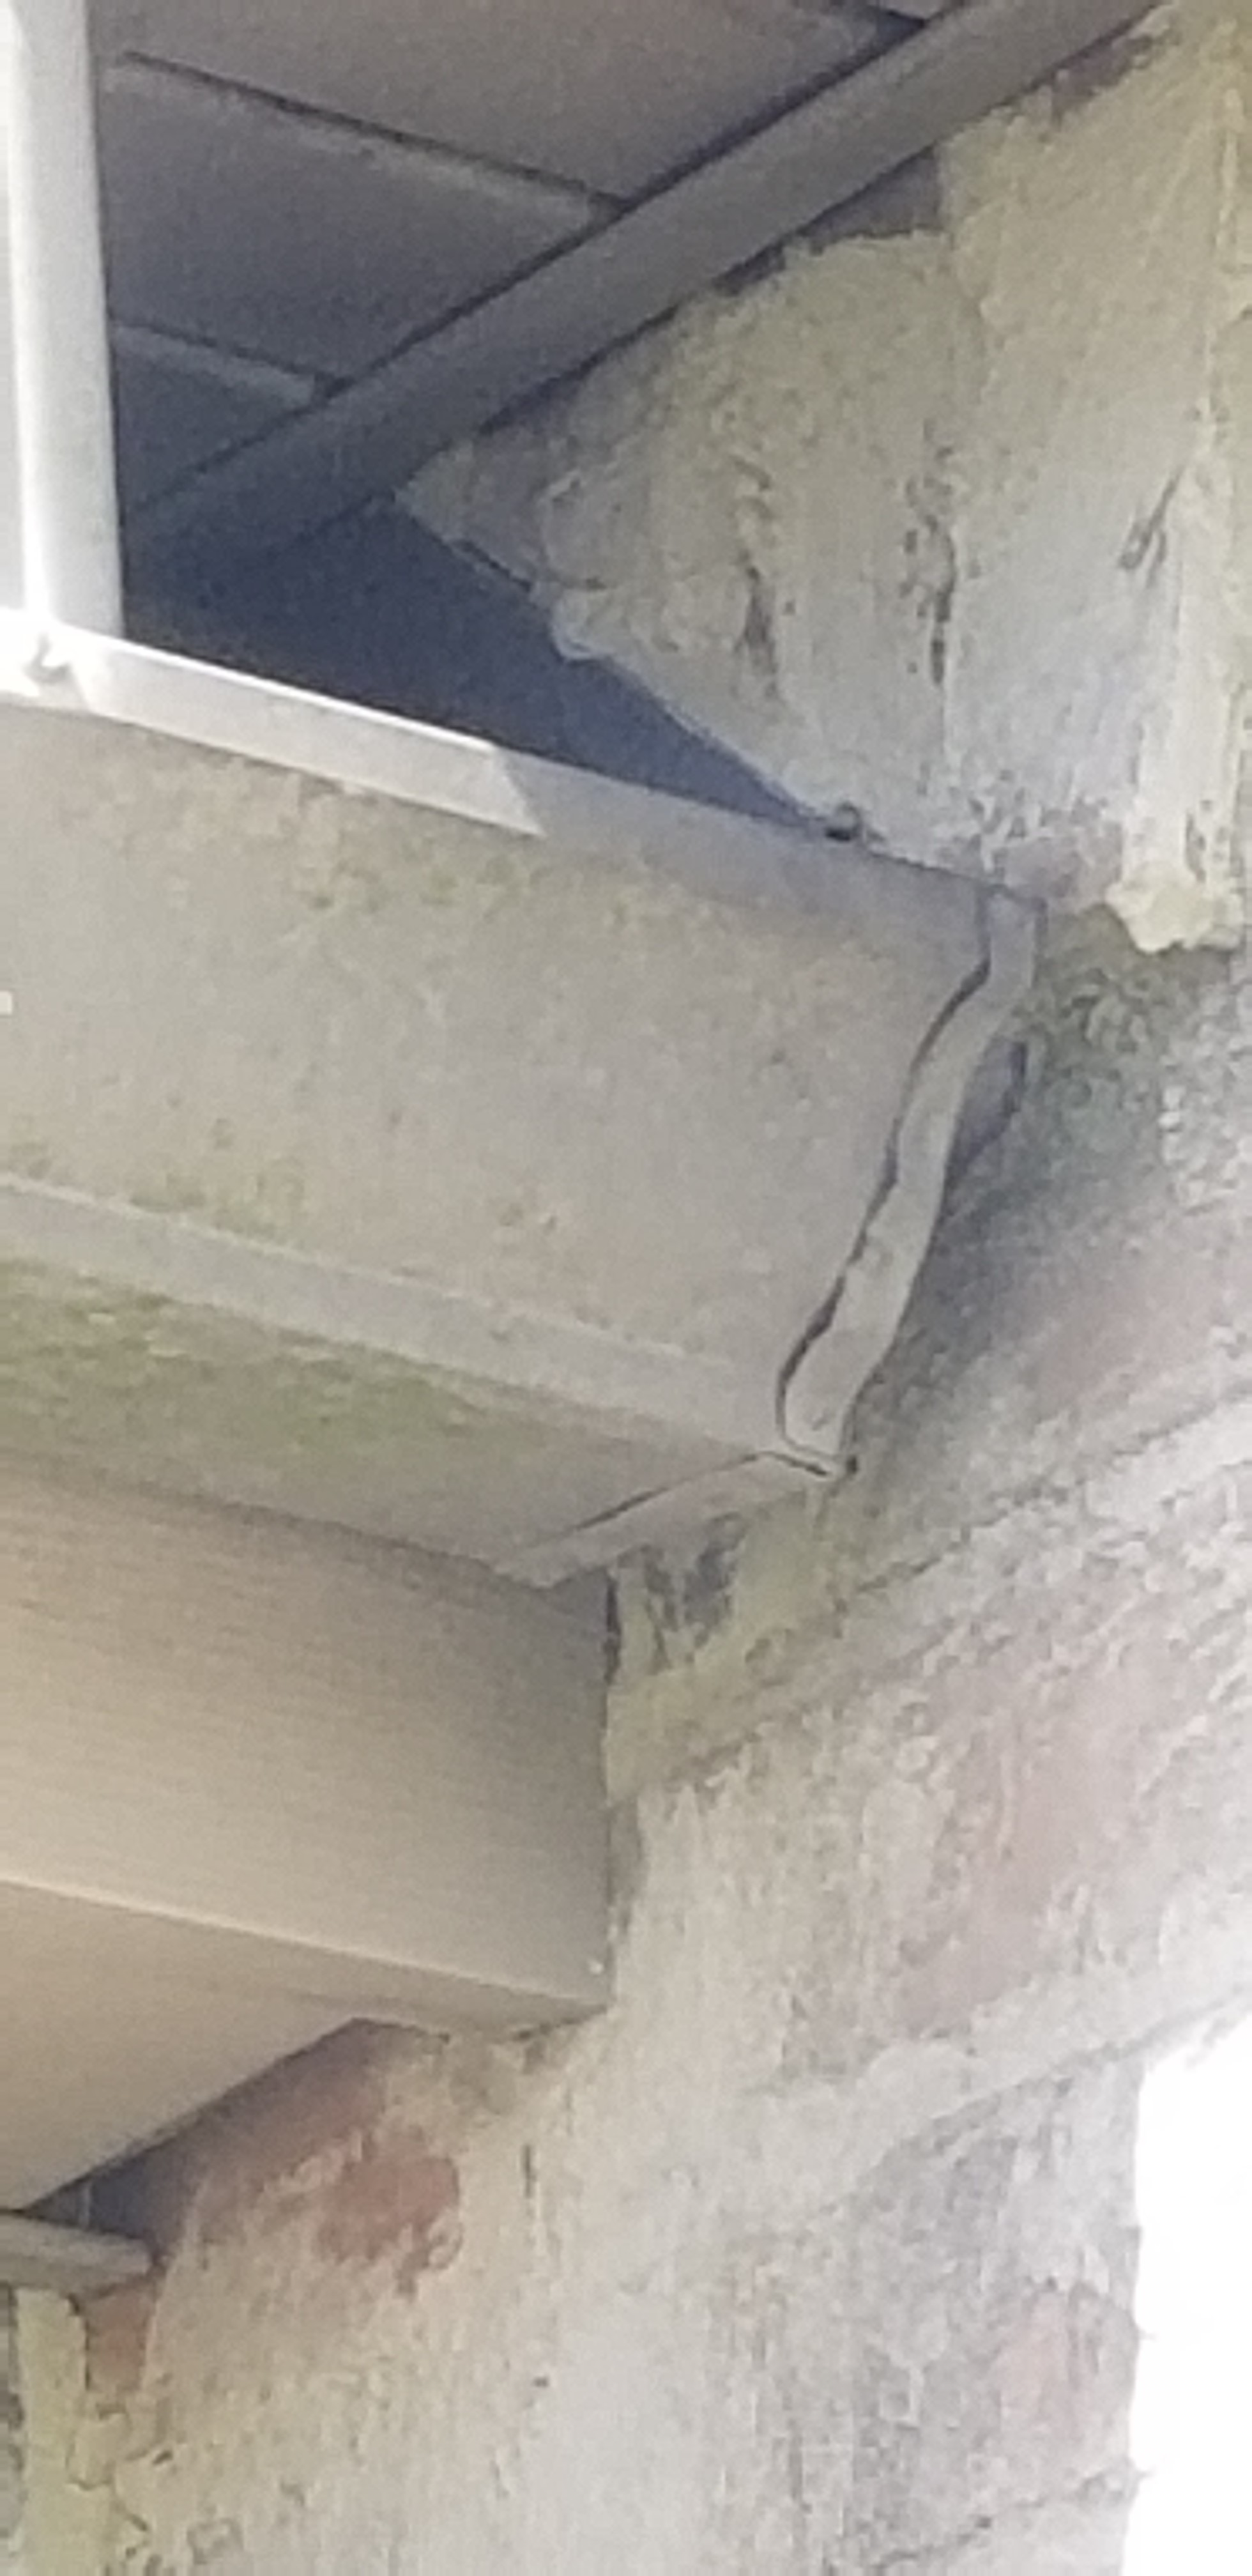
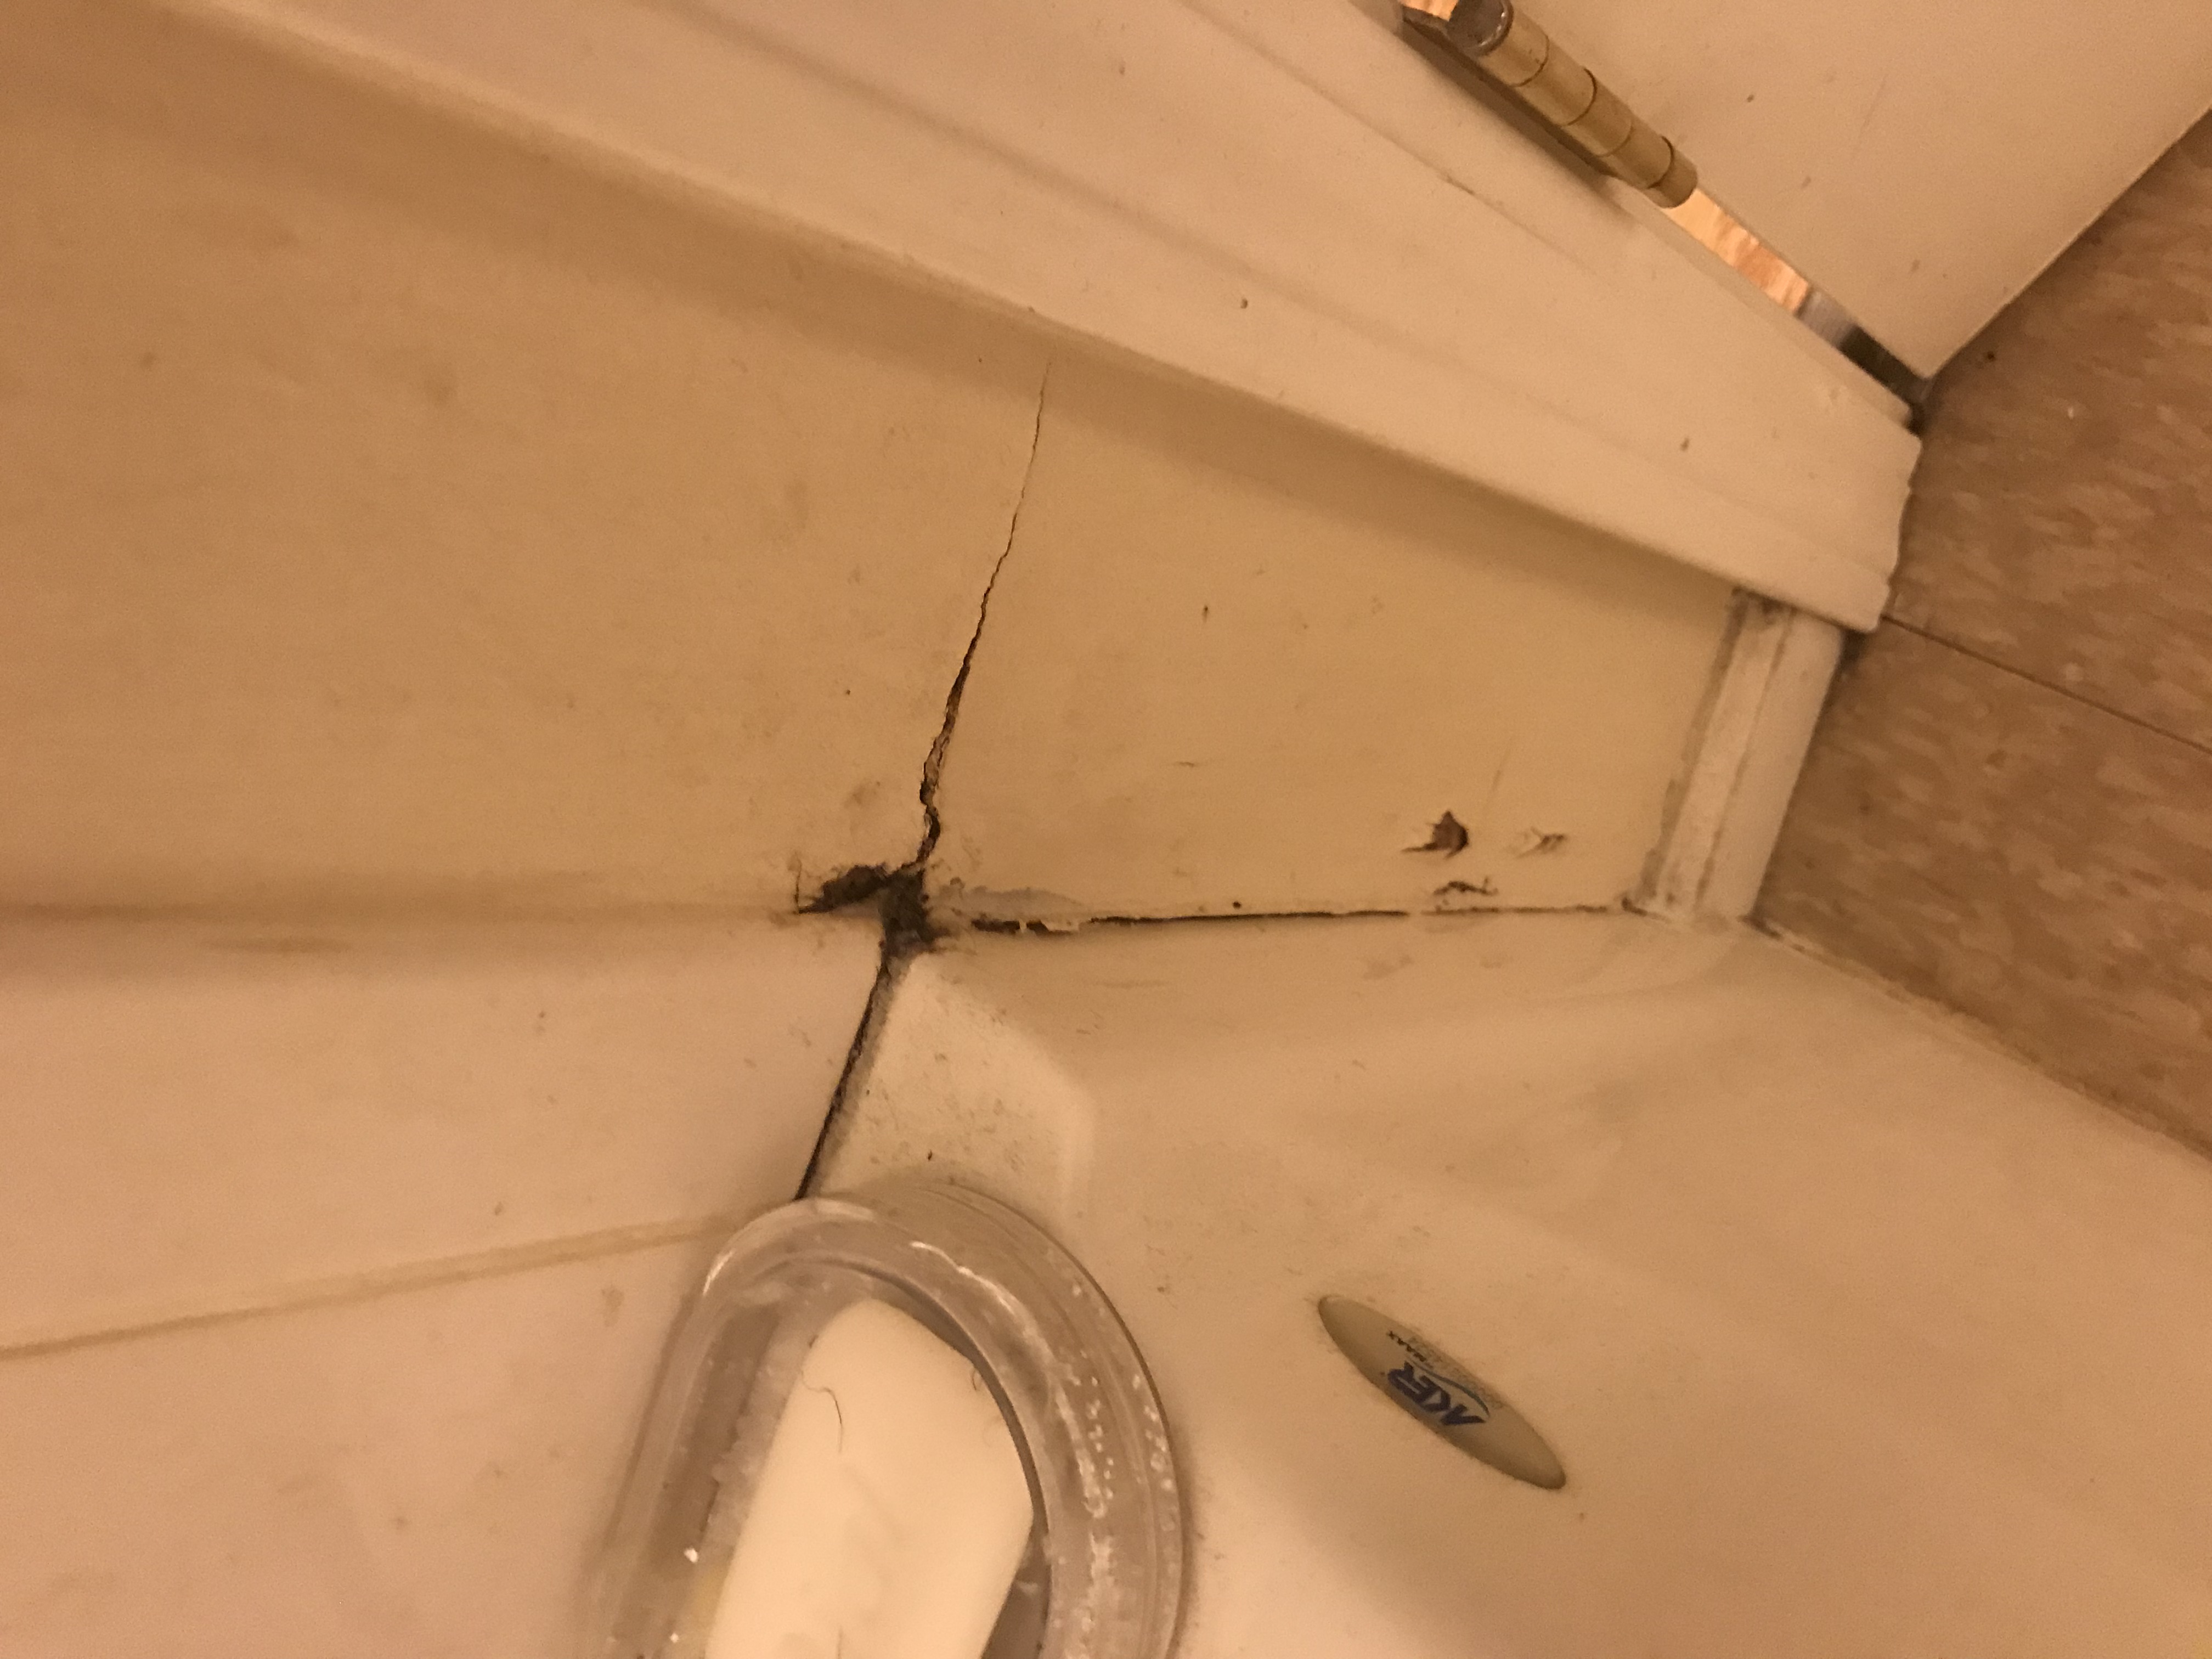
When inspecting this bathroom tub I noticed that the side panel of the wall in-between the door frame and tub displayed signs of moisture intrusion. When probed further the wall immediately diminished when probed with a screw driver at hand.
The pitch of a roofing system does effect the ability of a system to shed water. A higher pitch will shed water more effectively than a lower pitch. Water shedding is important part of preventing moisture intrusion into the home. An adequate material is needed for lower pitched roofing systems and inspection is required every time.
A first step in basement water proofing is to install and maintain gutters and downspouts so that they route all rainwater and snow melt far enough away from the foundation of the building to ensure that pooling does not occur near the walls of the structure. At least 10 feet from the building is best, and at the point where water leaves the downspout, it should be able to flow freely away from the foundation instead of back toward it, and should not be collecting in pools near the foundation.
Water intrusion is probably in the back of any good home inspector’s mind at all times. Sometimes it might be blatantly obvious, sometimes very subtle or remote to damaged area. Additionally, sellers or other workers may try to hide prior or current damage. Makeshift fixes may be; paint, caulk, new flashing, and sometimes excessive clutter in front of areas intentionally or not, during an inspection phase. Moisture can have a capillary effect, possibly causing further damage out of sight. We are another set of eyes, in addition to WDO inspectors. The picture shows no kickout flashing. Additionally, the siding and shingles touch each other. There should be a gap between bottom of siding and flashing. Additionally, there should be a small gap between flashing and side of shingles. Water can sweep behind siding and under shingles from left edge of picture. Without the kickout flashing, additional water can seep down the siding, between wall and soffit area. The water could easily get into the fascia board and remainder of soffit area, thus creating severe damage and great repair costs.