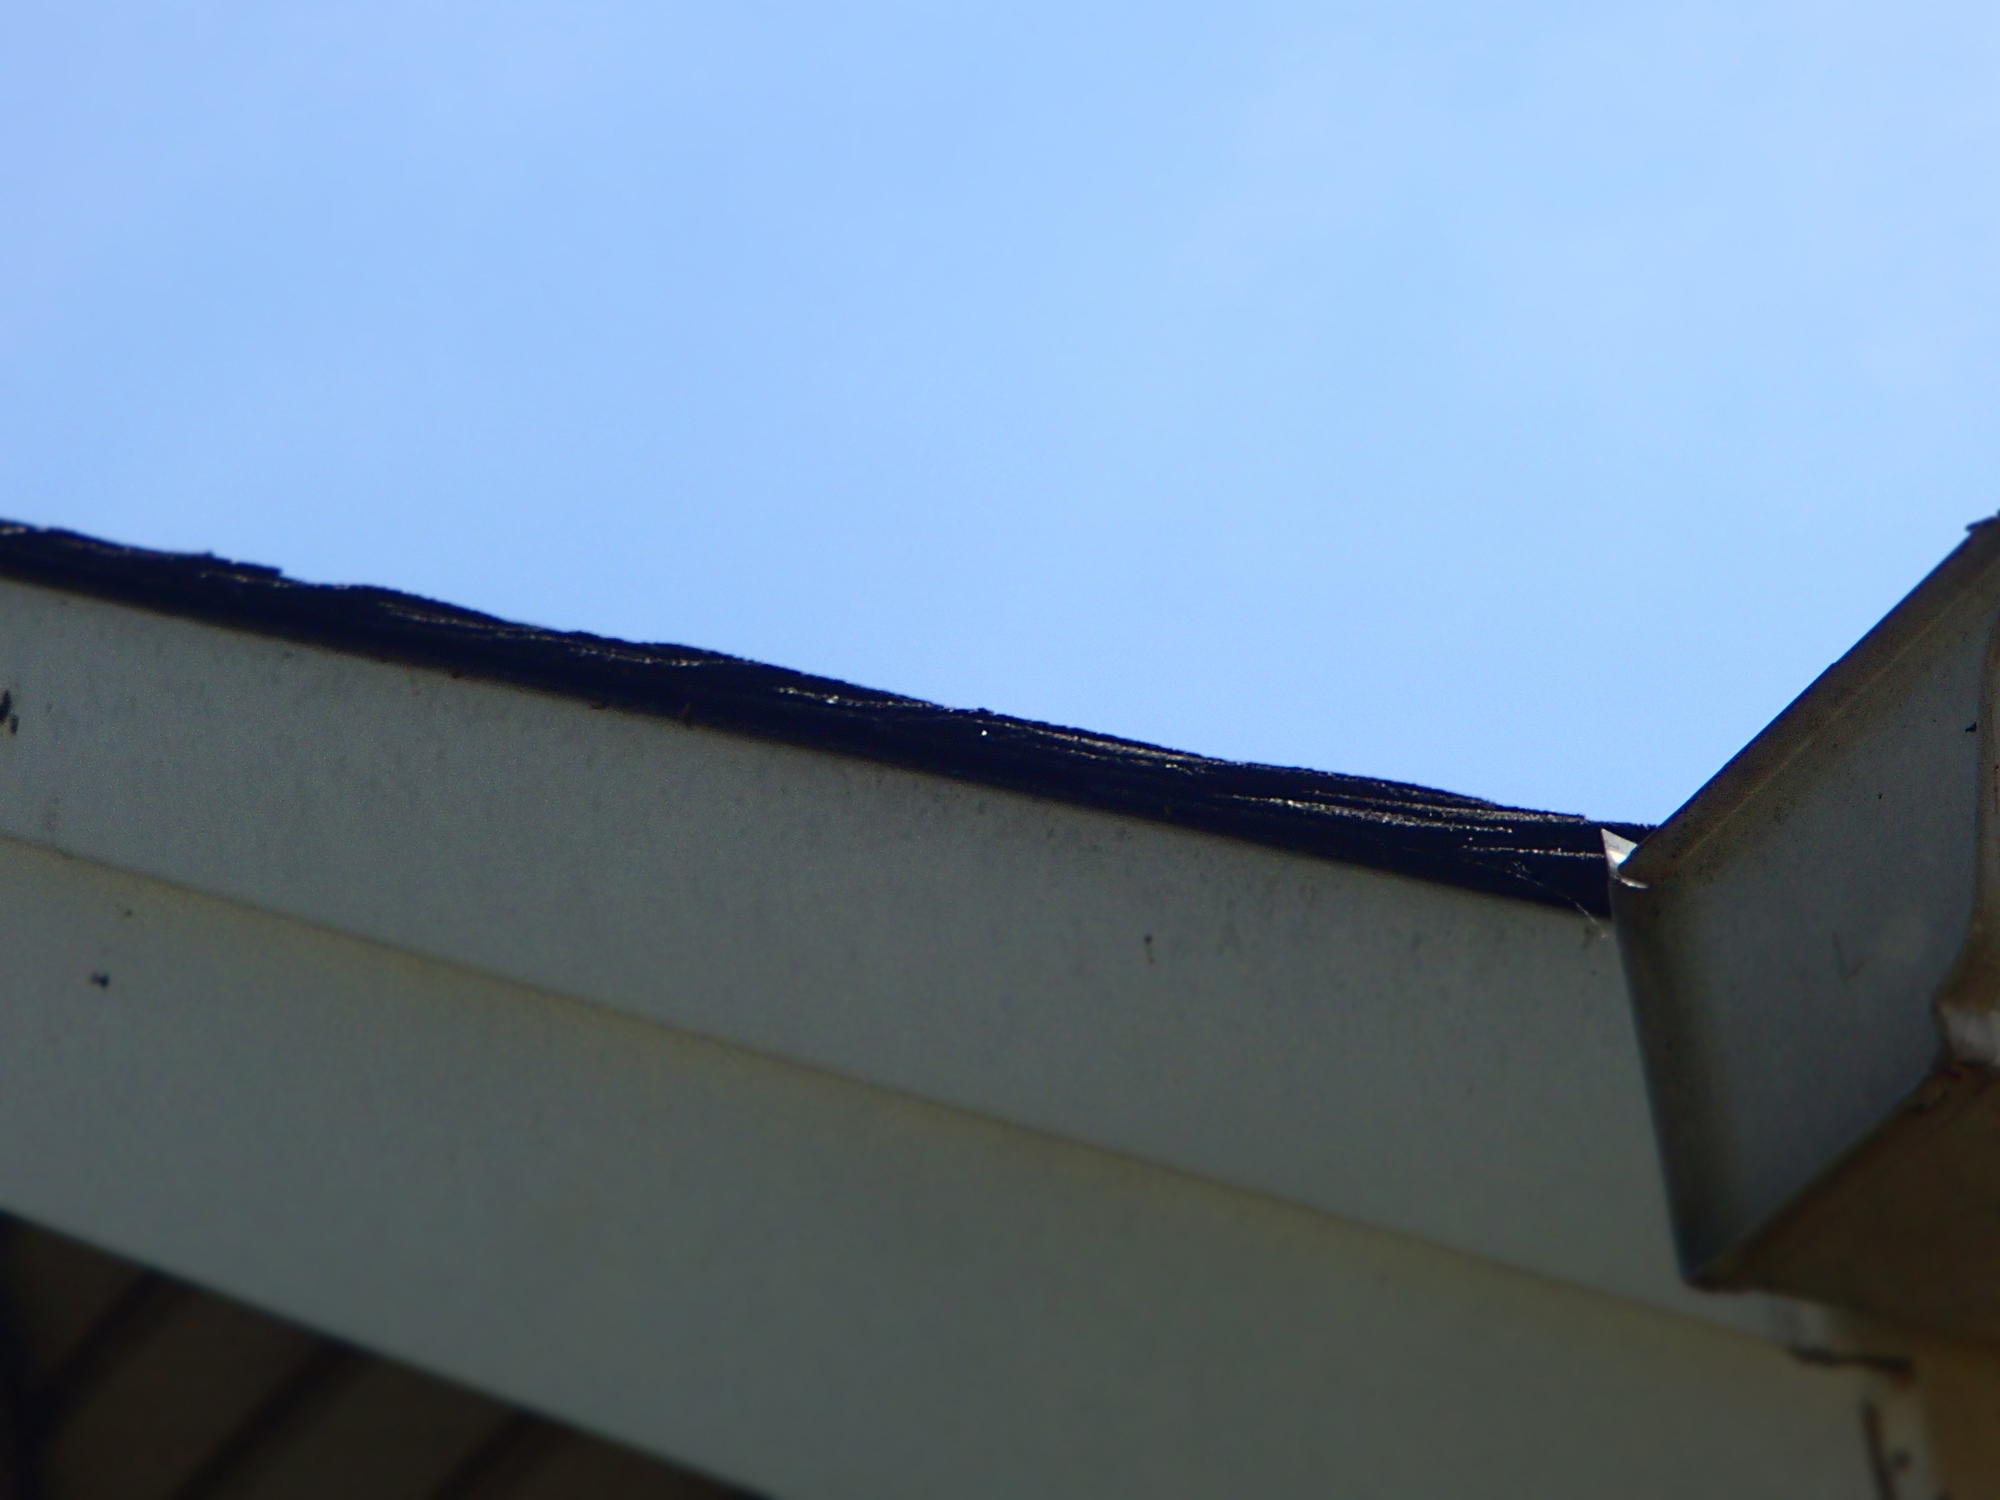
Examining the rake of this home shows there are at least 2 layers of shingles. I was not able to walk the roof, but did notice there was a strange bubble look to the shingles, going down the left side of the front roof. Clearly there is an attachment problem with the shingles in this area. It is likely that the roofing nails are not long enough to penetrate through the additional layers of shingles. I would recommend hiring a qualified roofer to inspect this roof.
Knowing that the sheathing beneath the roof covering is properly fastened and supported is something I would like to know before walking on a roof. However, checking the nail spacing, is not possible from the outside and checking from inside the attic may or may not yield the reassuring results we’d like to see. Walking a roof is dangerous in any case and one should follow all safety precautions. Consider the slope of the roof, the type of roof covering, weather conditions and the presence of obvious snow or moss, and the possibility of ice that may not be visible. A wet roof can be slippery after or during rain, and a hot roof can cause shingles to slip when walked on. Do not walk a wet roof or walk during the heat of the day. Do not walk a roof that has ice or snow and if you walk a roof with visible moss, stay away from moss covered areas. Zooming in with your camera or using a spectroscope may be your best bet for unsafe areas, or completely inaccessible roofs due to the conditions discussed.
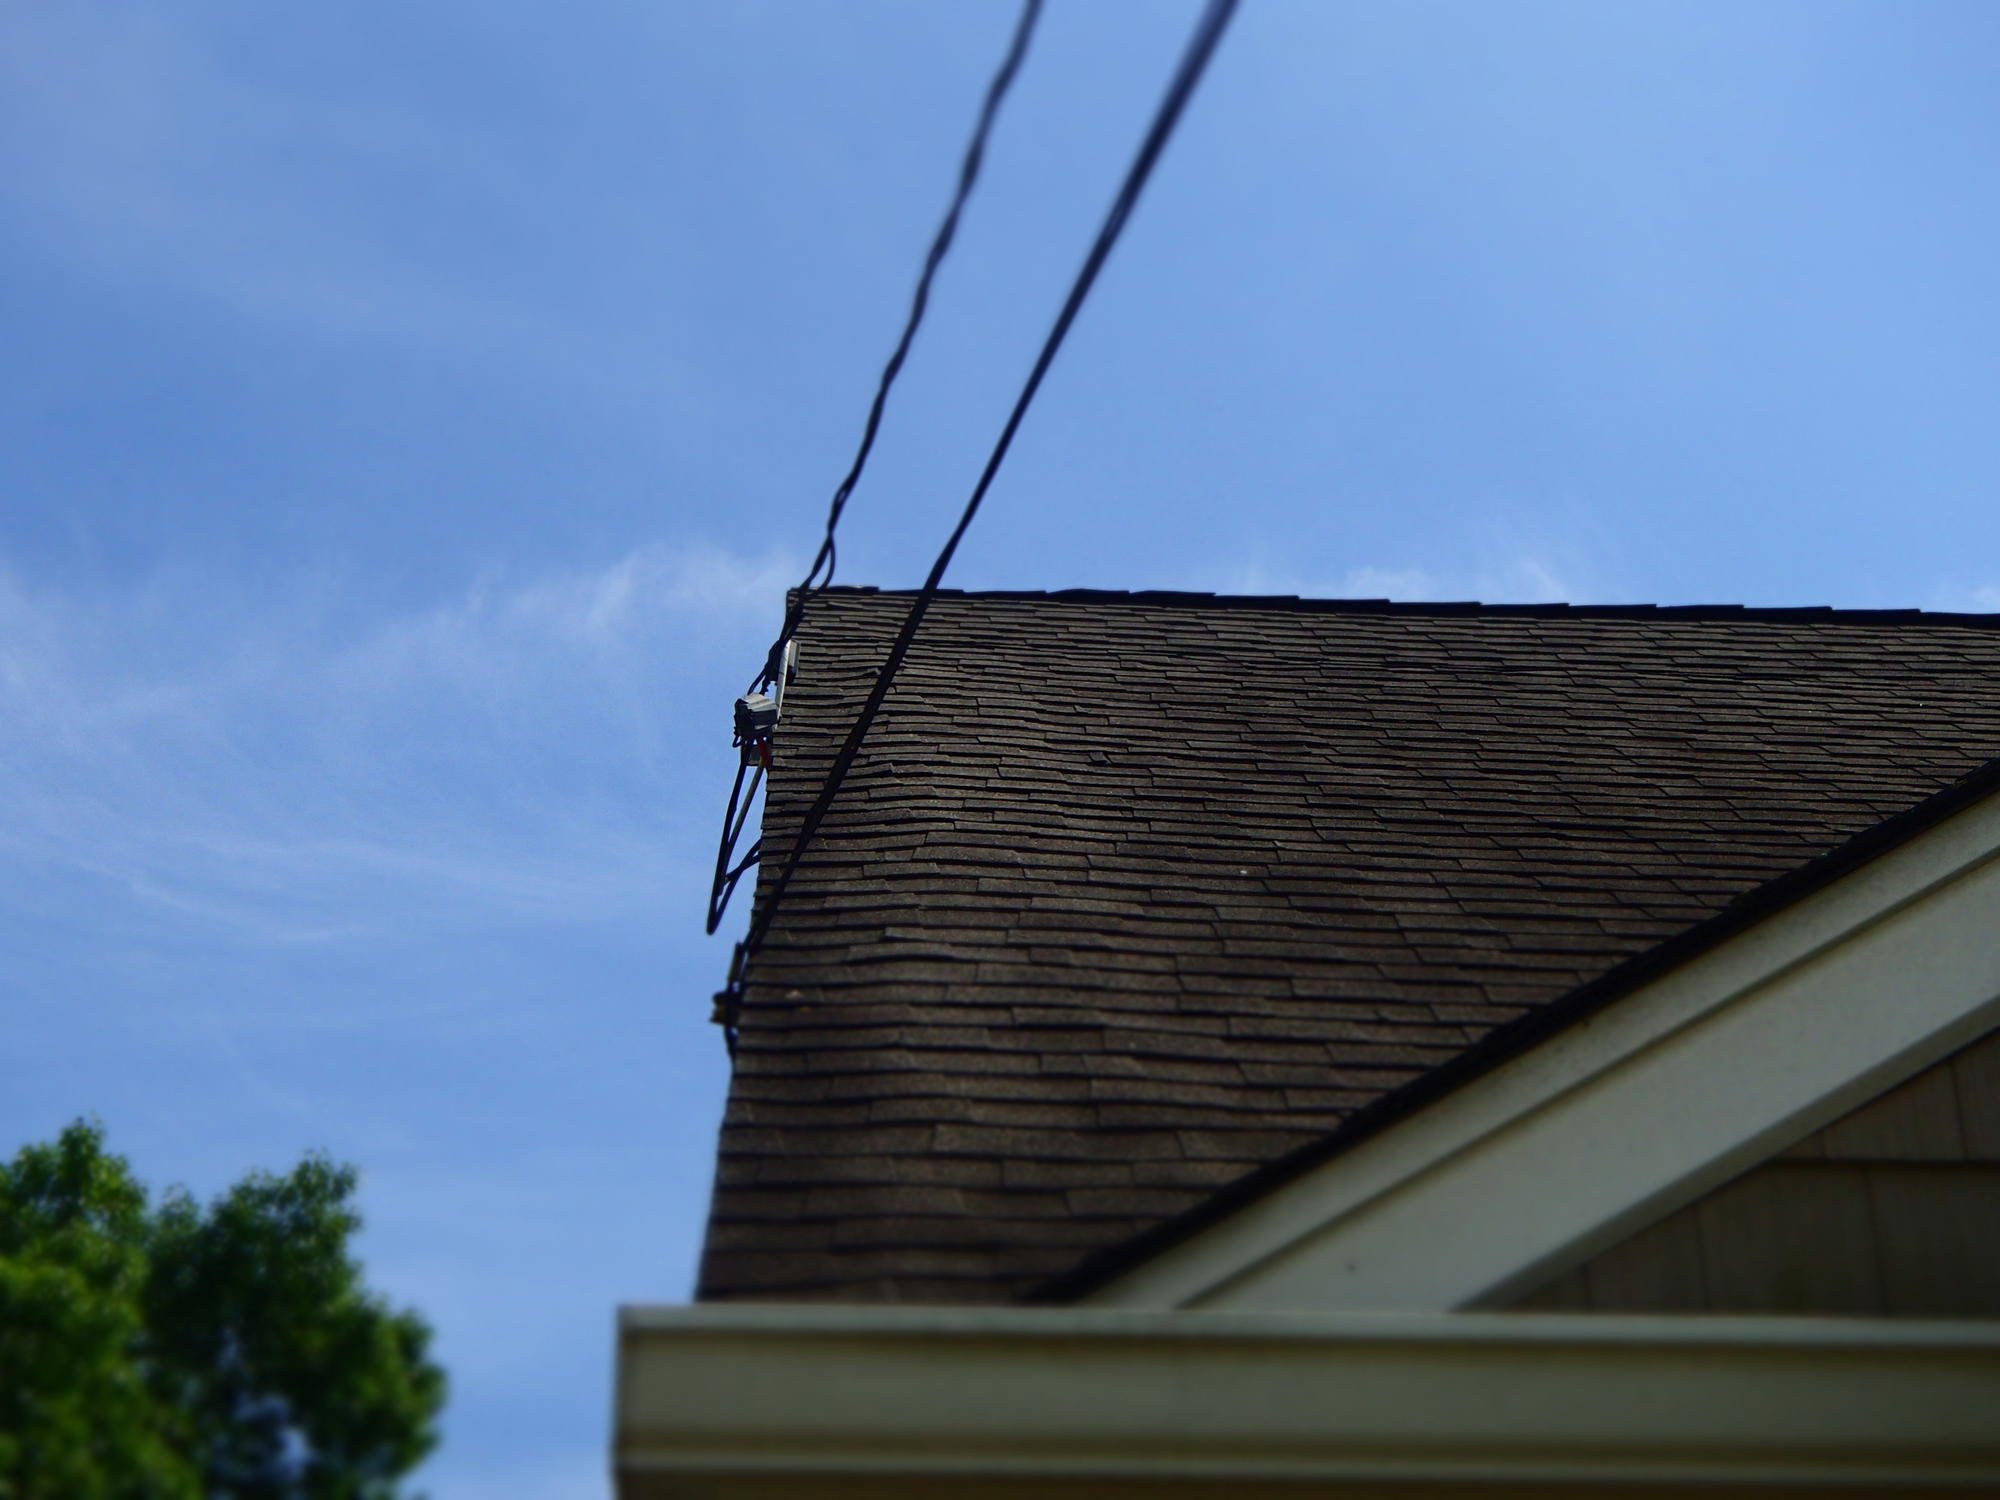
this is what we call a flat roof. Actually, its got some minor slope to it so the water can drain when the snow melts or when it raines. Also, we can see the wires from the power company. I beleive the building code requires that the power wires should be no lower than 1 meter over the roof.

The adjustable steel columns must have a diameter of 3 inches. They also must be treated with rust-inhibited paint. One of the test the industry use is the spraying of salt on the paint for 200 hours.
Pictures showing a roof with open valleys. signs of hail damage on vents and on shingles. also shows signs of wind damage and can see a second layer of roofing material. looks like a rolled roofing. also shows improper fastening of shingles. uses of four nail instead of six in high wind area.


Master roof inspection: accessing roof part three.
Gaining roof access to the roof .
One way to gain access to the roof is through the window. but you need to be careful not to damage the screen.
the most typical method is a use of a latter. choosing a later is the most important. find the right load capacity.
Mastering roof inspections: accessing the roof part four.
Standing extension latter. Choose level area. check over head power lines… while extending lay base of latter against base of wall. start lifting latter end over end. make sure base of latter is back about one fourth of distance. ladder should be strait and secure. never use latter in high winds, never use latter in font of doors and tie off latter so it wont blow away.
Mastering roof inspections part one and two. Part one dealt with roof safety, to be aware of the condition and be aware of the slope. Part two talked about if you should walk the roof at all and if you don’t ways to inspect it like from the eaves or from the ground with binoculars.
As the title states i am referring to the master roof inspection article series.
“Mastering Roof Inspections article series
Mastering Roof Inspections: Accessing the Roof, Part 1
Mastering Roof Inspections: Accessing the Roof, Part 2
Mastering Roof Inspections: Accessing the Roof, Part 3
Mastering Roof Inspections: Accessing the Roof, Part 4
Mastering Roof Inspections: Accessing the Roof, Part 5”
Thanks.
Starting the course for the roof data tech course.

Here is an inspection of a roof that I did. The shingles are prematurely cracking across the roof. I recommended having a licensed roofer come out and further evaluate and repair / replace as needed.
I read and continued the series on mastering roof inspections. I read accessing the roof, Part 2 and 3. Enjoying the the series.

Have not taken your courses in a while, am just trying to figure out the requirements, I.E new requirements, uploading a picture and essay 
inspection & writing assignment
visual inspection of the asphalt shingle roof near the chimney shows signs of aging. in the photo there are white spots of apparent sealant as evidence of attempts to repair some leakage. also there is some sort of black caulking on the chimney at the flashing; this caulking is cracked an peeling and as such may be allowing moisture to migrate past the flashing and into the attic space.
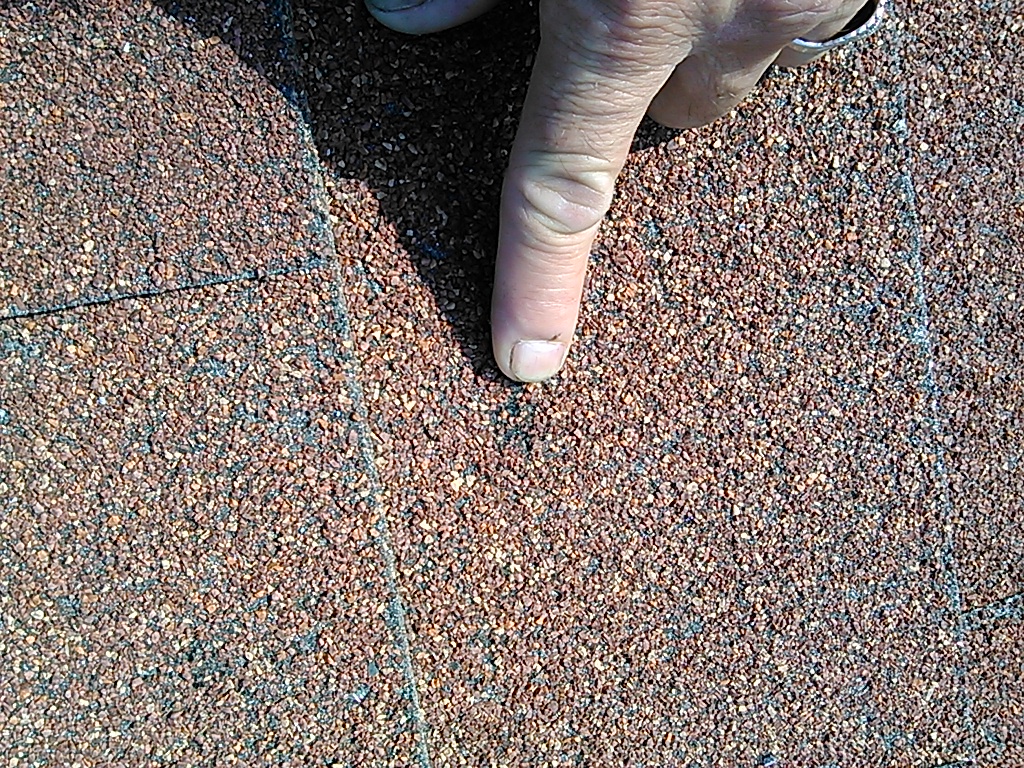
upon looking at the 3-tab shingles there are various sized gaps between the tabs which indicates age. when 3-tab shingles are installed all of the gaps should be uniform. the older the shingles get, they degrade from exposure to the sun’s UV and the weather. as they degrade by corners curling up and also the granules come away from the shingle base making the under layer of the shingle visible as noted by the dark stripes in the shingles, also the gaps in the shingles widen.
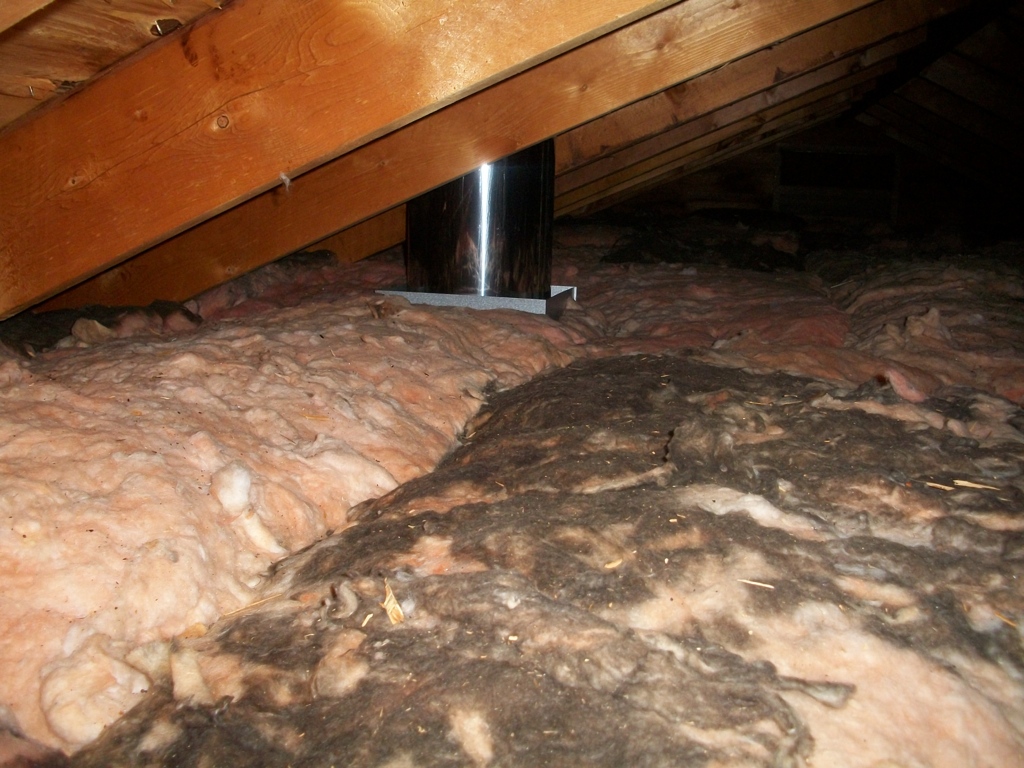
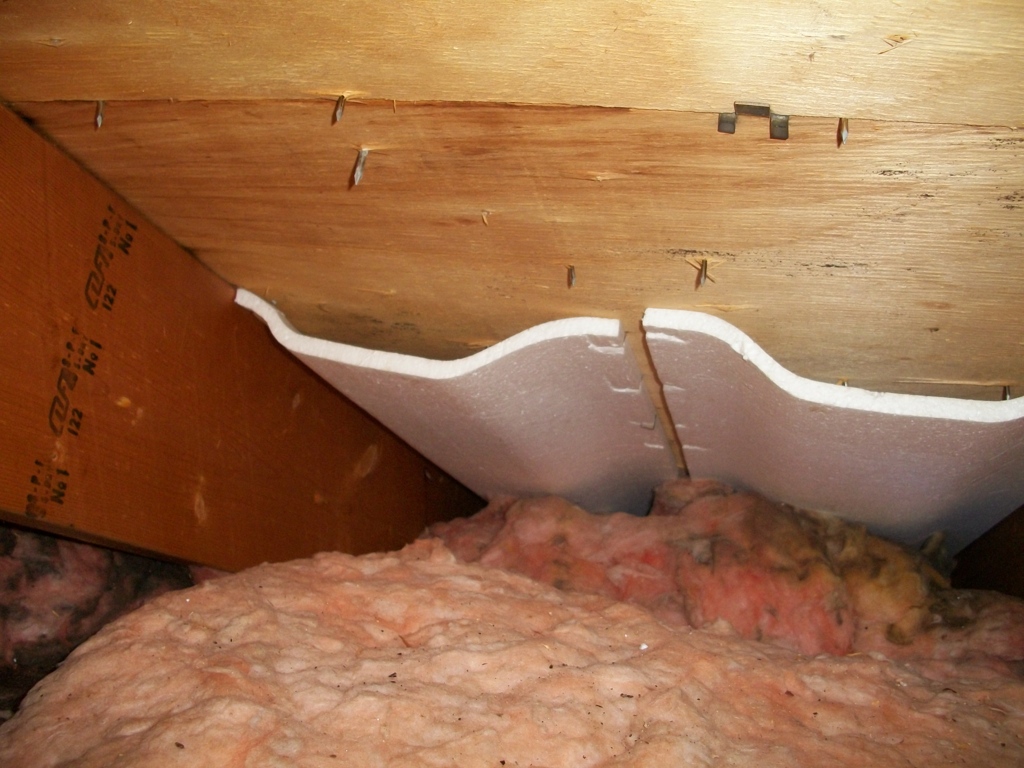
the second photo was taken from inside the attic and shows discoloured fibreglass insulation. indoor air escaping into the attic through gaps bring warm air, moisture, dust, etc into the attic space and discolour the insulation.
also in the attic pic, visible evidence of moisture intrusion by way of the roof is shown on the sheathing. staining is on the roof sheathing in several spots along the rafters.

reading & writing assignment: I read articles on ‘mastering roof inspections: attic roof inspection’ & ‘H-clips for inspectors’
as shown in the photo, the builder installed H-Clips between the roof sheathings.
H-clips are not always called for by the building architect, but do have the benefit of stiffening the roof sheathing if they are installed properly.
the h-clips if not used are not considered to be a defect. the amount of stiffness provided to the roof sheathing is especially noteworthy if the sheathing is 3/8" in thickness.
if the jurisdiction the home is in asks for h-clips to be used and they are not, it should be noted in the inspection report.
Here is a picture of a roof I inspected. The vent pipe boot looks in good shape. The roof has Architectural shingles.

Here is a furnace vent from an inspection I did in November. The flashing on the boot was loose and there were signs of moisture penetration in the roof deck. Roof is laminate and fairly new, furnace vent looked to be original.
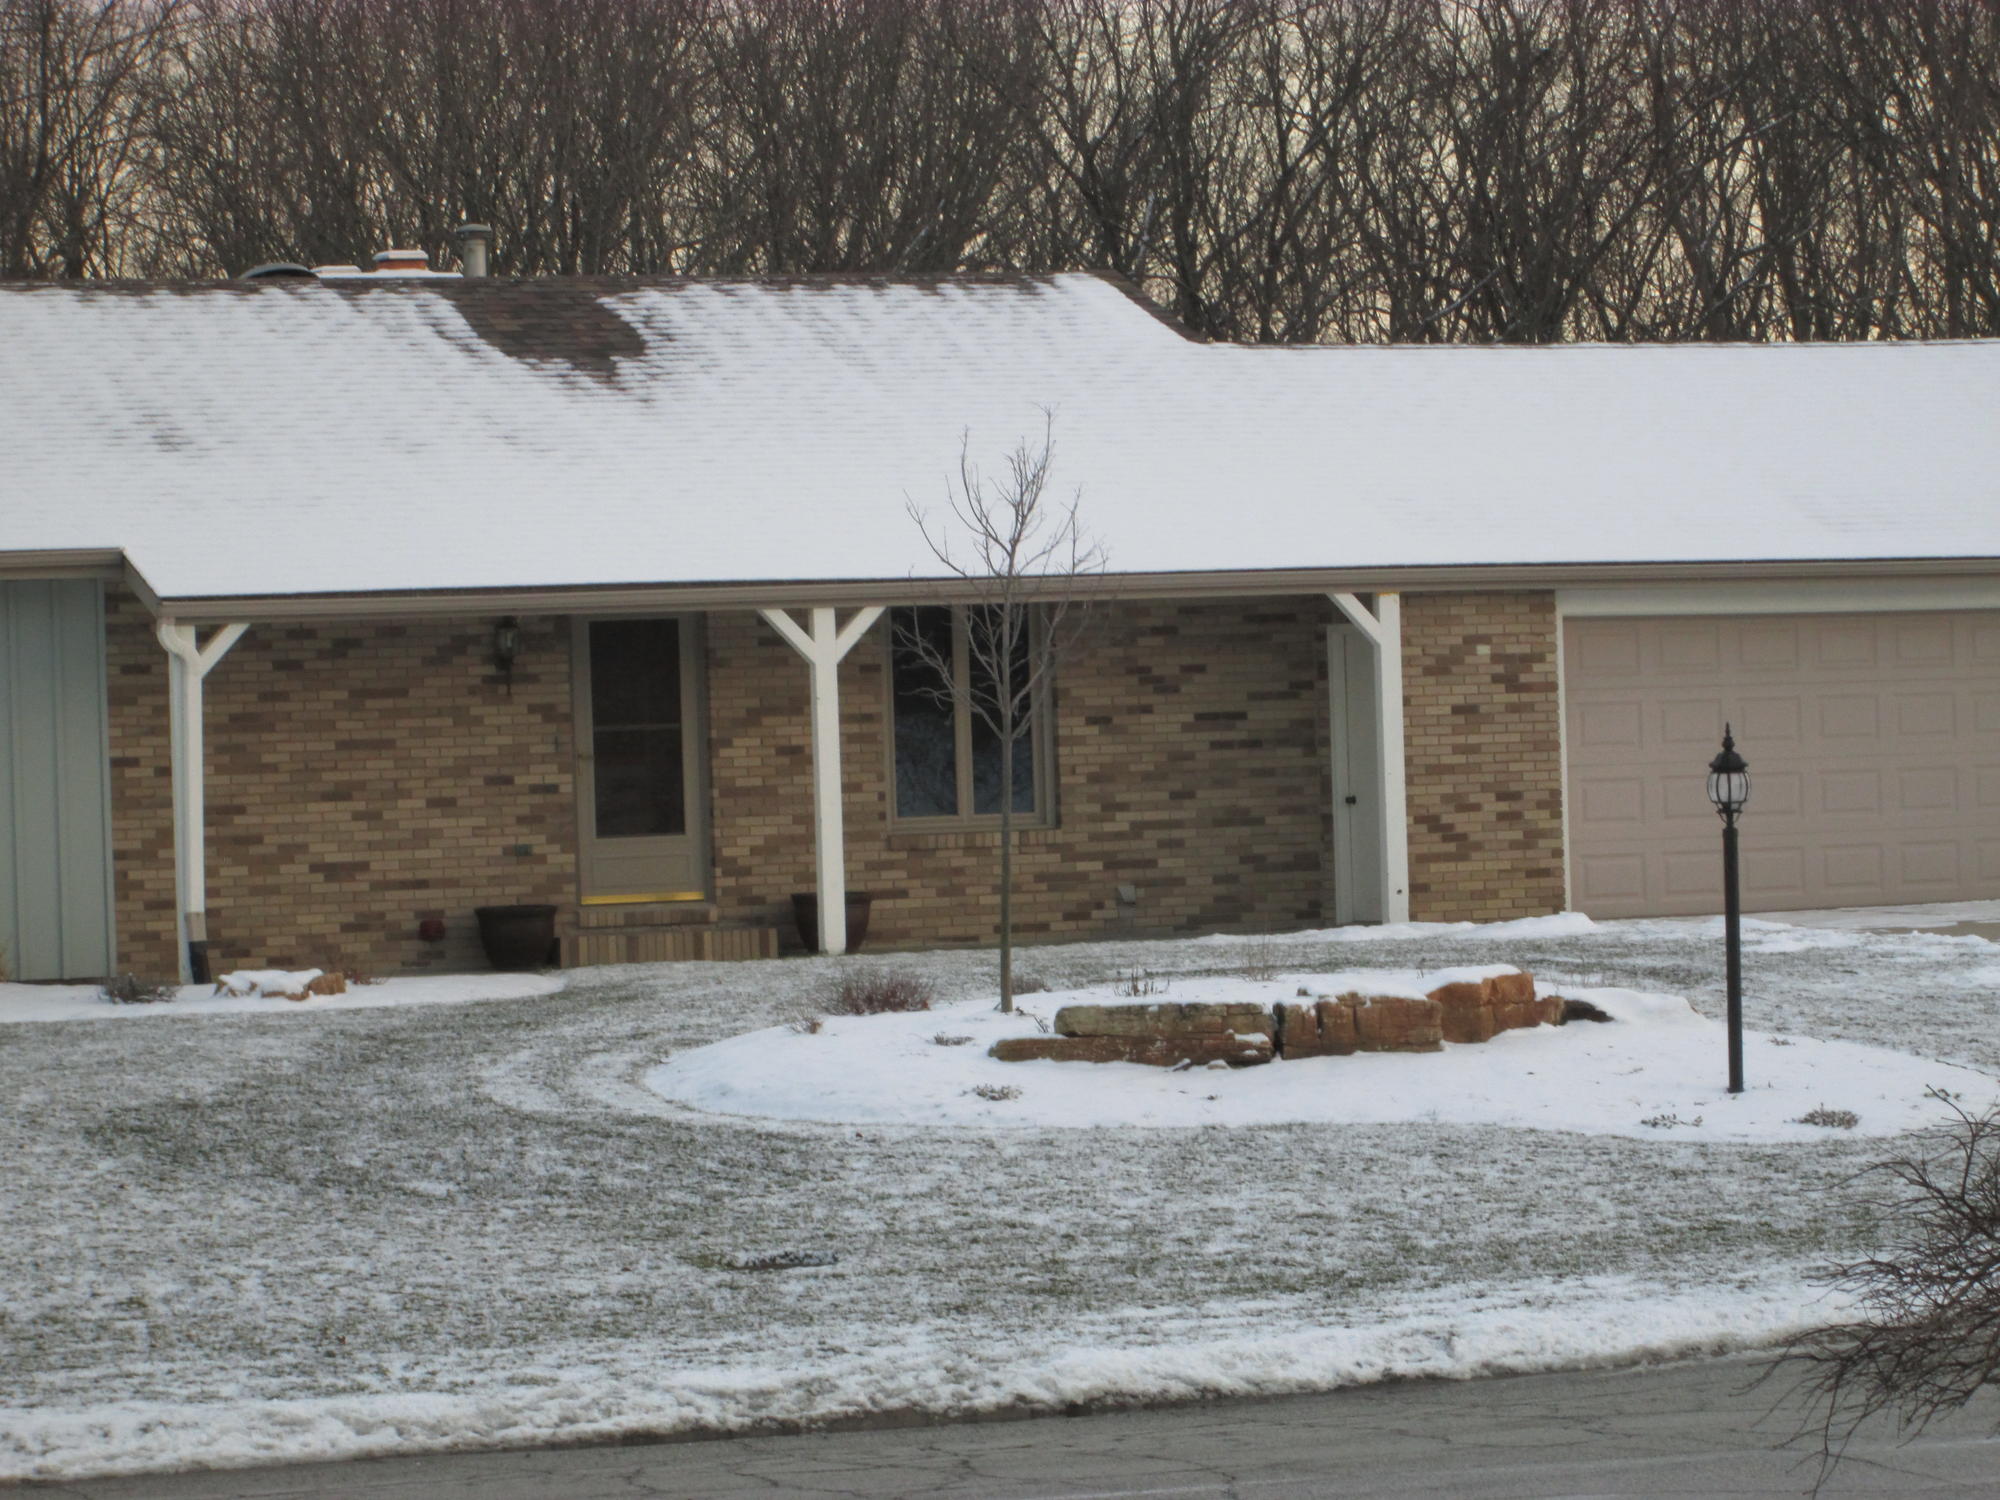
Here is an example of a snow covered roof that I will not be able to “Walk”. Using a ladder along the gutters and also positioned along the Rake is about all I can safely do for a roof inspection. Binoculars are a handy tool to see the farther parts that and not snow covered. I will have some pictures with the report. This is a Gable roof, so counting the roof layers at the Rake will determine the layers. Safety First when it snows.
This is a picture of a multi-gabled roof with dormers. The slope of the roof is built on a 9:12. This shows the complications with walking a roof surface if the pitch is too steep.

Dark stains on the roof were observed. Typically, this is caused by the airborne algae, Gloeocapsa Magma. It is spread by wind or wildlife and feeds on the crushed limestone in the shingles. Rain spreads the algae down the roof causing dark streaking. This condition is usually an aesthetic issue, but can possibly shorten the life of the roof.
